When it comes to DIY Cable Railing installation, you might be wondering whether or not it’s actually doable. The process involves lots of complicated components and intense cutting and drilling, right? Not necessarily. Let’s break down some of the pros and cons of installing your cable railing yourself.
Cable Railing Parts
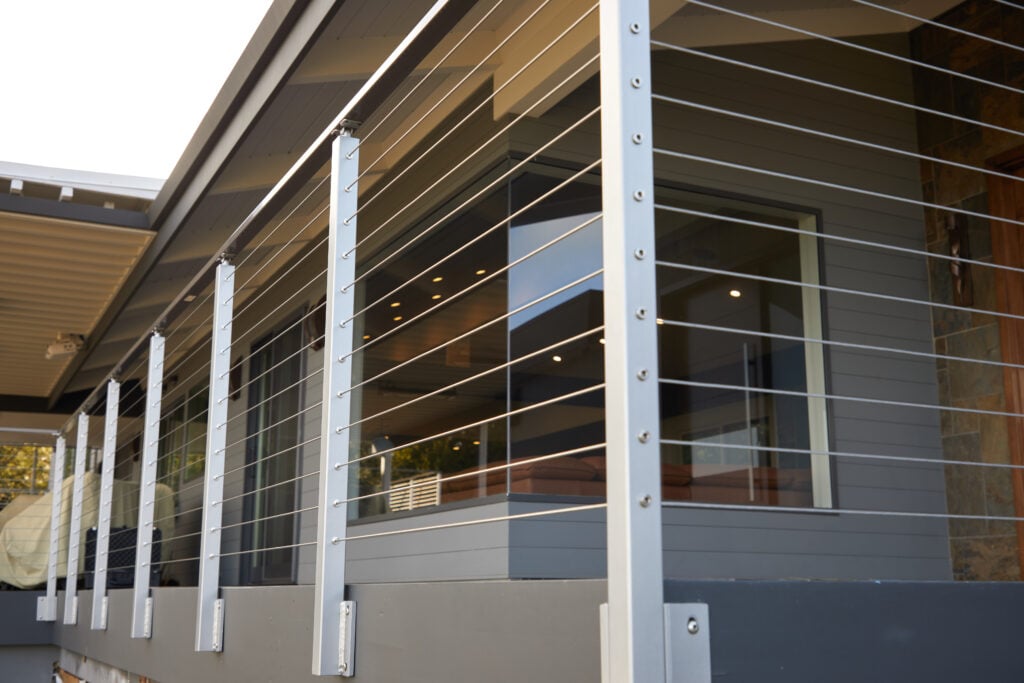
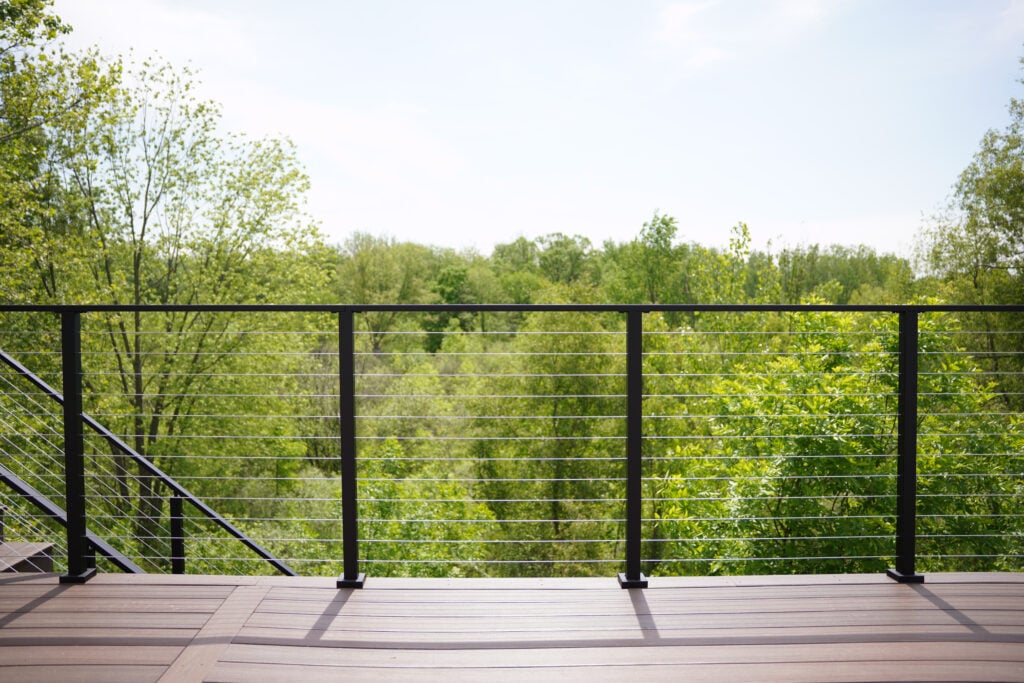
Understanding the main components of a cable railing system can help the installation process go quickly and smoothly. There are three main parts of a cable railing system – posts, handrails, and infill.
Posts are known as the foundation of a railing system for good reason. They help to hold and contain the other components in a sleek, modern way. Additionally, they can be made of different materials depending on your preferences when it comes to style.
Handrails are essential for the safety and comfort of your railing system. While they exist to maintain OSHA guidelines, they can add the necessary finishes to your system.
Finally, the main component of cable railing – the infill. The stainless steel cable wires act as an unobstructed safety component while offering a contemporary vibe to your space. Because the wiring comes in bendable spools, they are one of the easiest railing systems to install yourself.
The 3-Step DIY Cable Railing Installation Process
Generally speaking, a DIY cable railing installation consists of spacing out your posts, running the wiring through the predrilled holes, and tensioning the cable.
Step 1 – Space Out Your Posts
Generally, code requires that cable railing posts should be no further than 4 feet apart. So, when purchasing your cable railing, make sure to divide the linear feet where you’re intending to use cable railing and divide by four and round up, then add an extra post to cap off the railing run. (Read more about cable railing code requirements here.)
When you’ve received your railing and are getting ready to install, simply mark out where your posts should be mounted – every 4 feet. Then, mount the posts to the mounting surface using a drill and the provided hardware.
Step 2 – Thread, Crimp, and Fasten
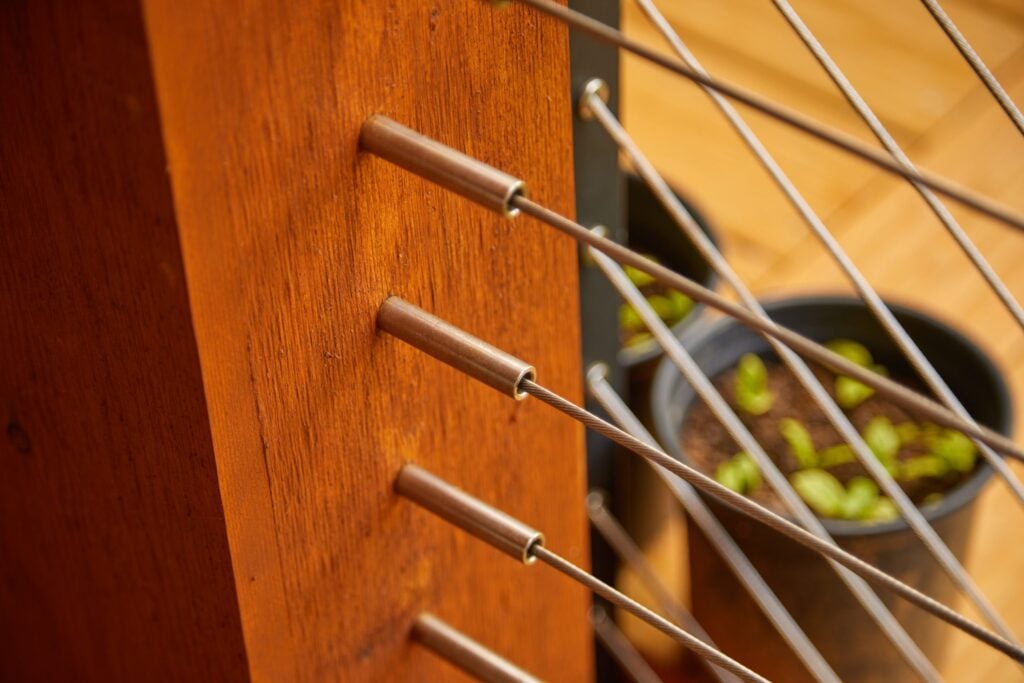
Once your posts are properly spaced and mounted, thread the cable through the corresponding holes in each post. At Viewrail, our posts come pre-drilled, so you don’t have to measure or drill the threading holes and you can rest assured that they are properly spaced to pass the 4” sphere rule.
At each intermediate post, install the components of the Inside Post Mount Kit (provided with your purchase) to keep the cable properly aligned and secure. Then, at the other end of the run, crimp the cable and install the components of the Level or Angled Tensioning Kit using the tools in our Cable Railing Installation Toolkit.
Step 3 – Tension Your System
Finally, tension the system. One of the few maintenance requirements of cable railing is that you may need to re-tension the cable to keep them taught and up-to-code, but this can be easily done with the tensioning tools provided in the installation toolkit.
If you still have questions, don’t worry – your railing system comes with in-depth instructions to explain how to execute each of these steps properly.
Does Doing-It-Yourself Save You Money?
One of the most common reasons DIYers choose to install railing themselves is because of the price tag associated with professional installation. Although there are benefits to having a professional team install your railing, taking on the project yourself is naturally more cost-effective. That said, the overall project can take longer when you install it on your own, which could negate a portion of the extra cost that comes with hiring a team.
Ultimately, the answer to this question depends on your previous experience with similar DIY projects, the constraints of your project’s timeline, and your overall tolerance for learning a new process or skill.
Two Stellar DIY Cable Railing Systems
If you’ve decided the DIY route is right for you – we’ve got the perfect cabling railing system just for you.
Our Express Cable Railing contains every piece you will need to install your system from scratch. Express cable railing is almost indistinguishable from our Signature cable railing, but it’s not as custom, and therefore easier to install and you can get it quicker. Additionally, you’ll be able to access helpful video tutorials to assist you along the way.

Or, if you already have pre-existing posts, you can install our DriveTite kit for an unobstructed view of your space. DriveTite kits empower you to drill cable wire infill directly into new or existing wood posts, and they install even faster than our DIY Express cable.

Get Started Today
Now that you know what goes into deck railing installation, you can begin the process. With the help of our DIY-friendly kits, you can move forward with confidence. Our team at Viewrail is always available to answer any questions or concerns you may have during the installation. Contact us today and we’ll help you achieve the deck of your dreams.