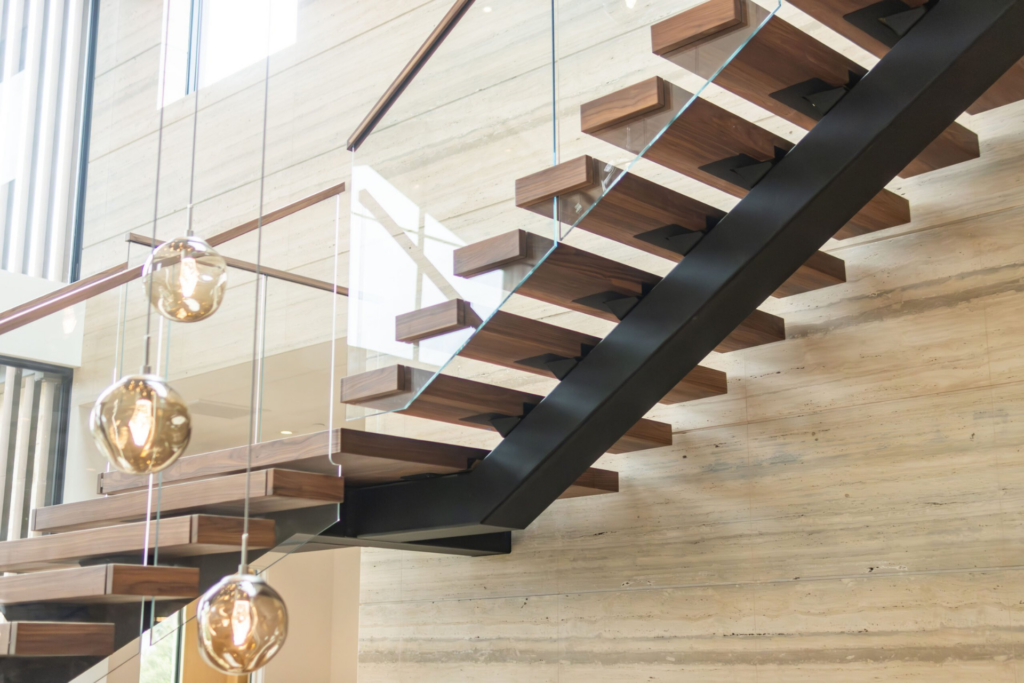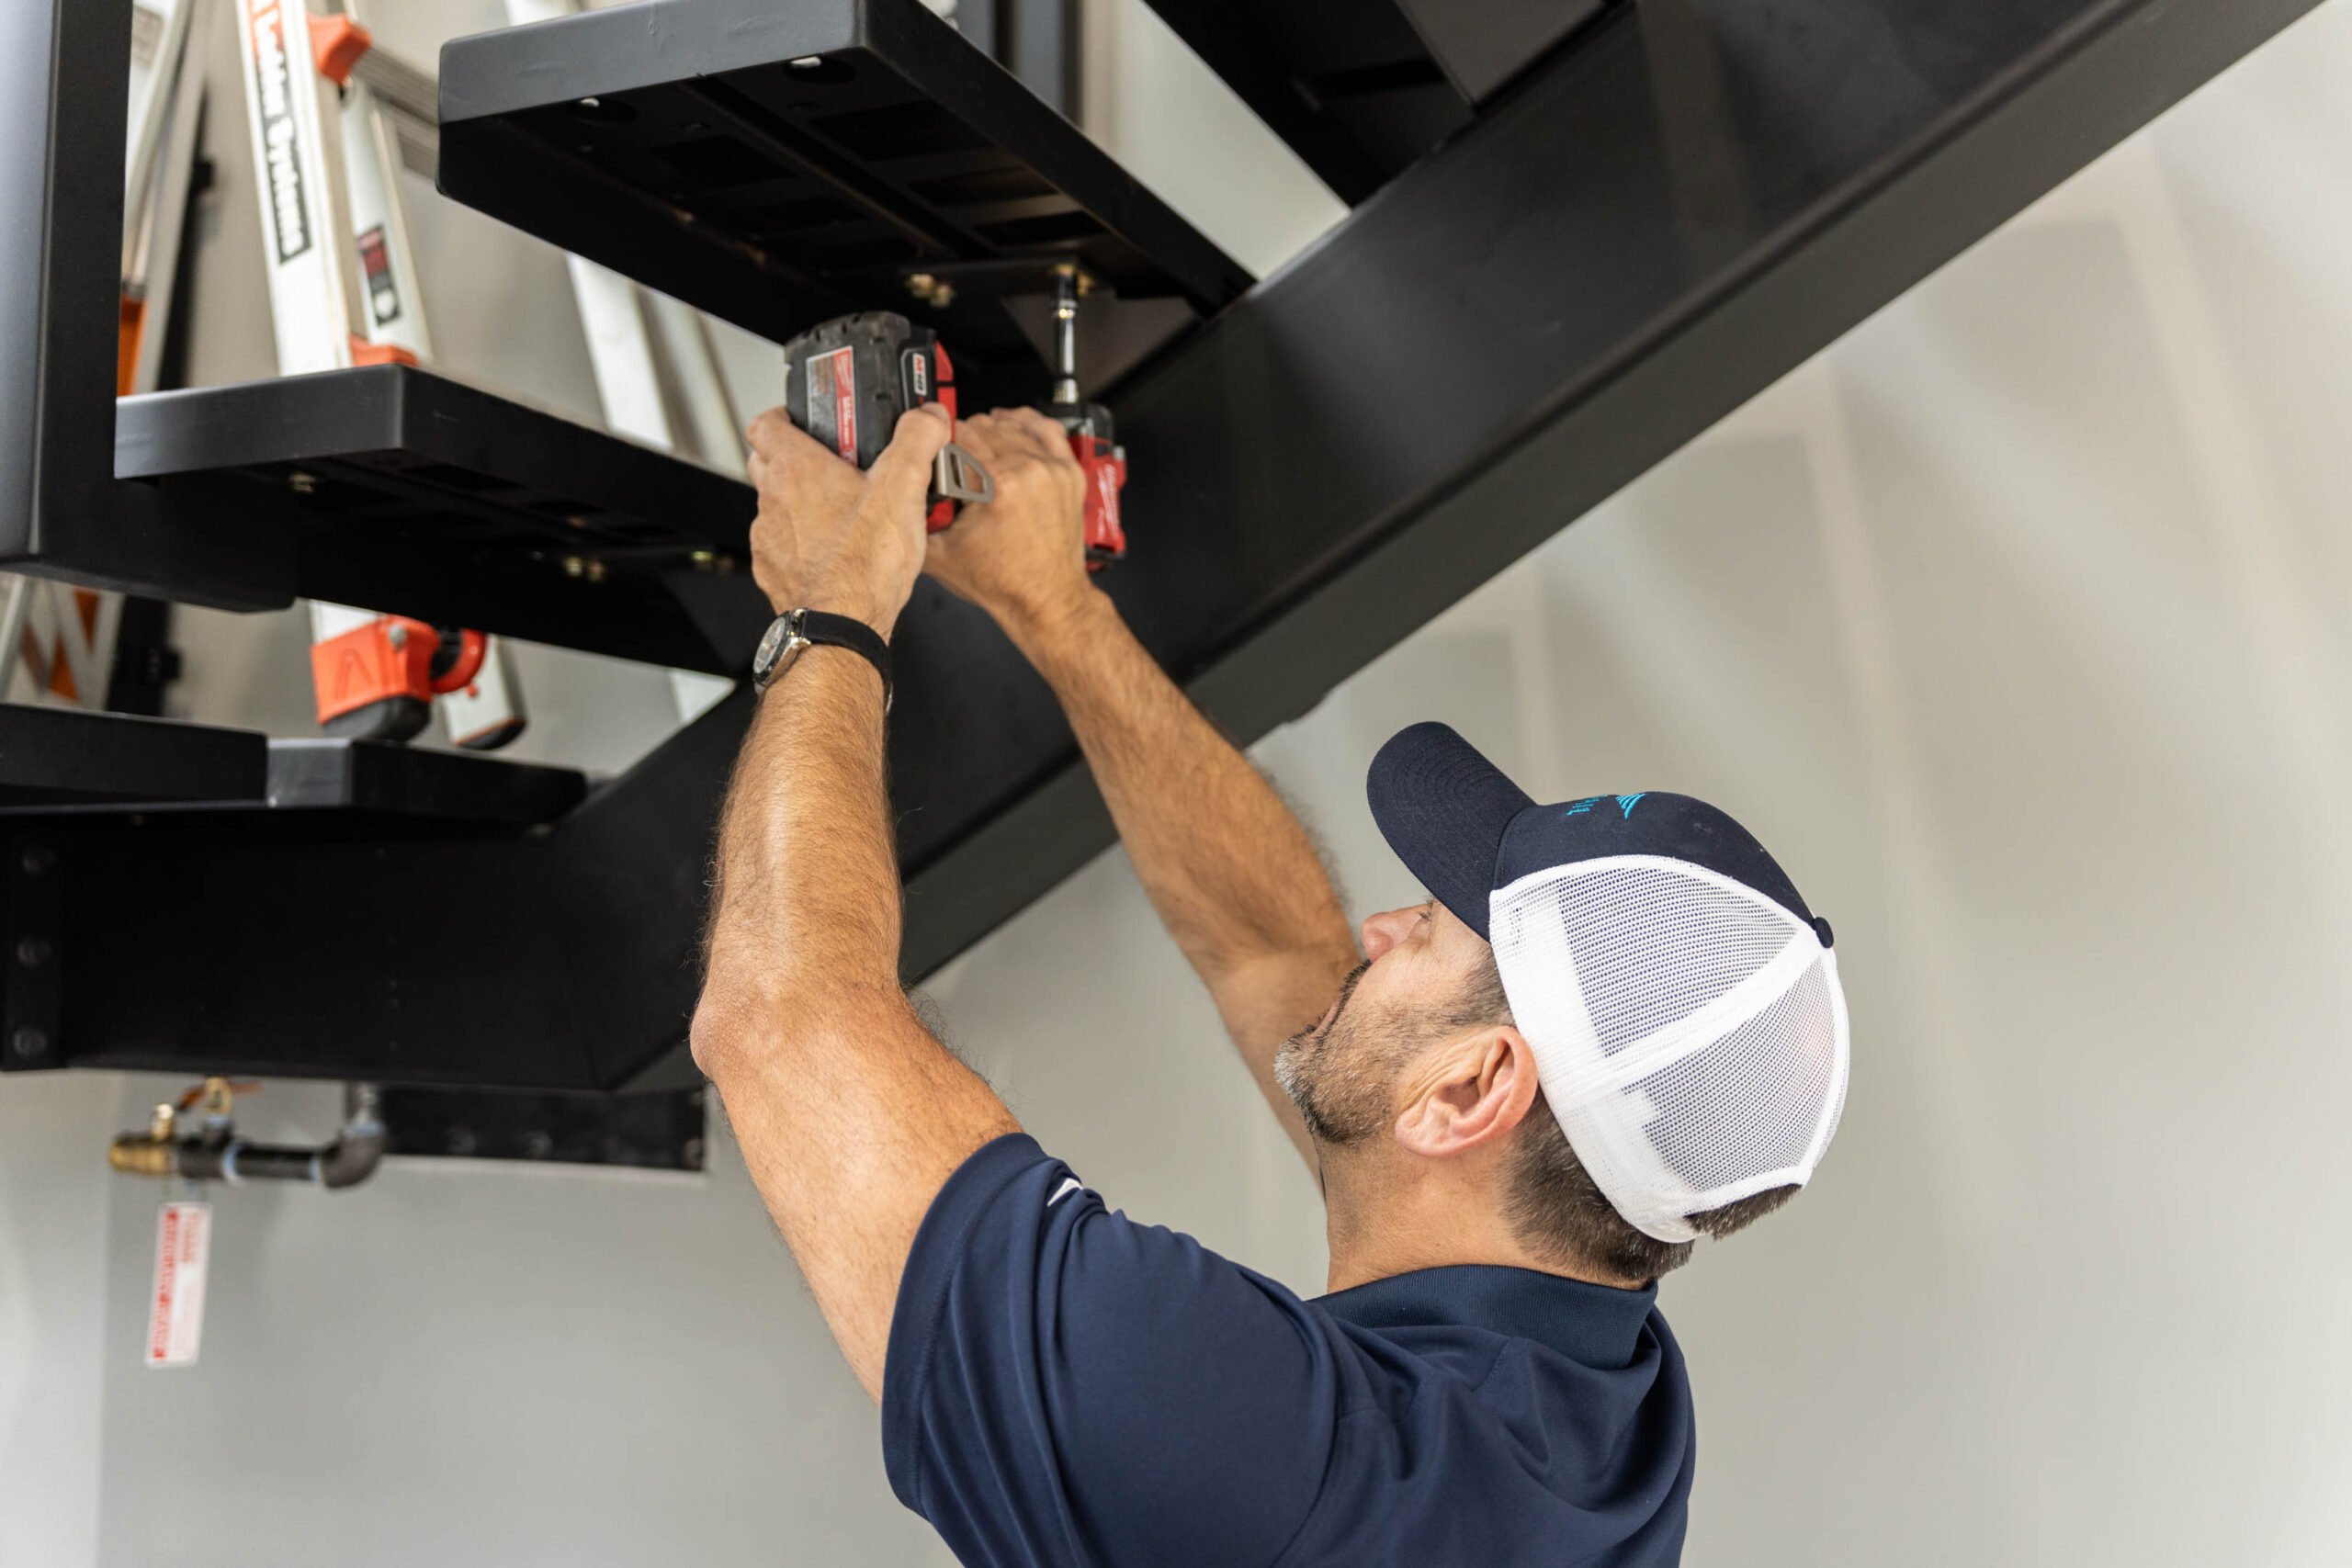
FLIGHT Installation
Whether you're hiring Viewrail's Certified Installers or tackling the project yourself, here’s your guide to installing your floating stairs.
Viewrail Certified Installers
Meet our professionals who can handle everything from start to finish.
Installation Made Easy
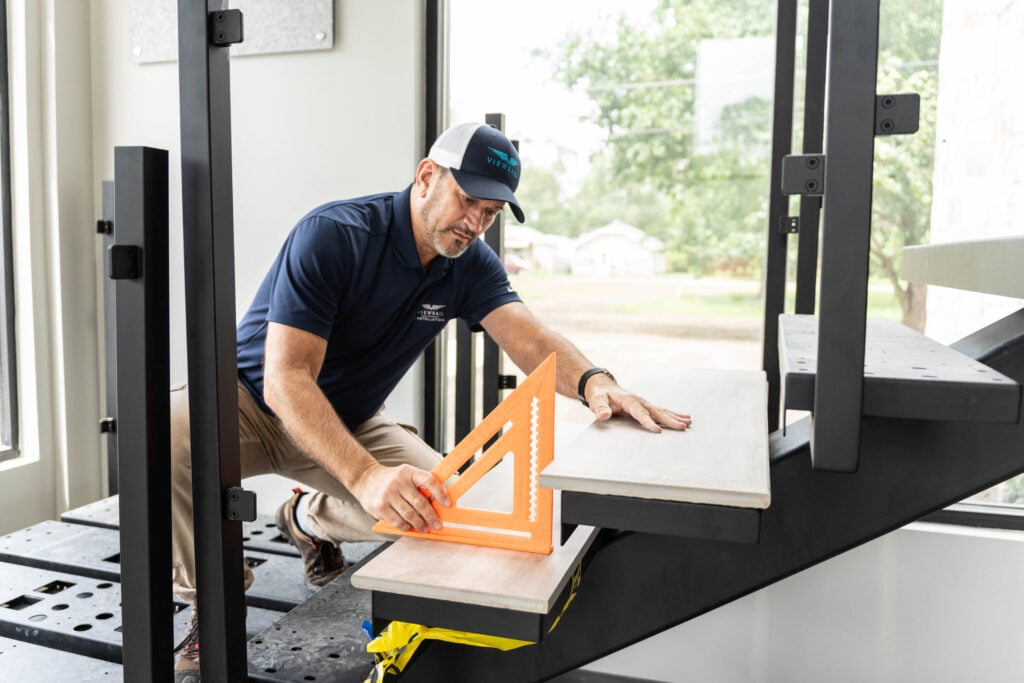
We’ve made it easy to assemble custom floating stairs without requiring specialized trades or extended timelines. From custom-fabricated materials to step-by-step instructions, we give you everything you need to install your FLIGHT system yourself.
Custom Instructions
You’ll receive a detailed, step-by-step manual tailored to your specific installation.
Small Crew Size
We recommend two to three people for most installations.
Shorter Timeline
Most systems can be installed in one to five days with the right crew.
Before You Install
Prep the Site
Make sure your subfloor and blocking are prepared for your system.
Receive Delivery
Your FLIGHT system will arrive at the job site in a few different boxes, numbered to match your 2D drawing so you can lay out all of your components prior to installation.
Gather Your Tools
We’ll provide certain tools, such as a torque wrench, sockets, and bits. Other tools you may need to supply yourself are:
- Drill/Hammer Drill
- Impact Driver/Socket Wrench
- Level
- T-Square
- Wood Drill Bits
- Wood Glue
- Silicone Sealan
A FLIGHT Mono Installation in 8 Steps
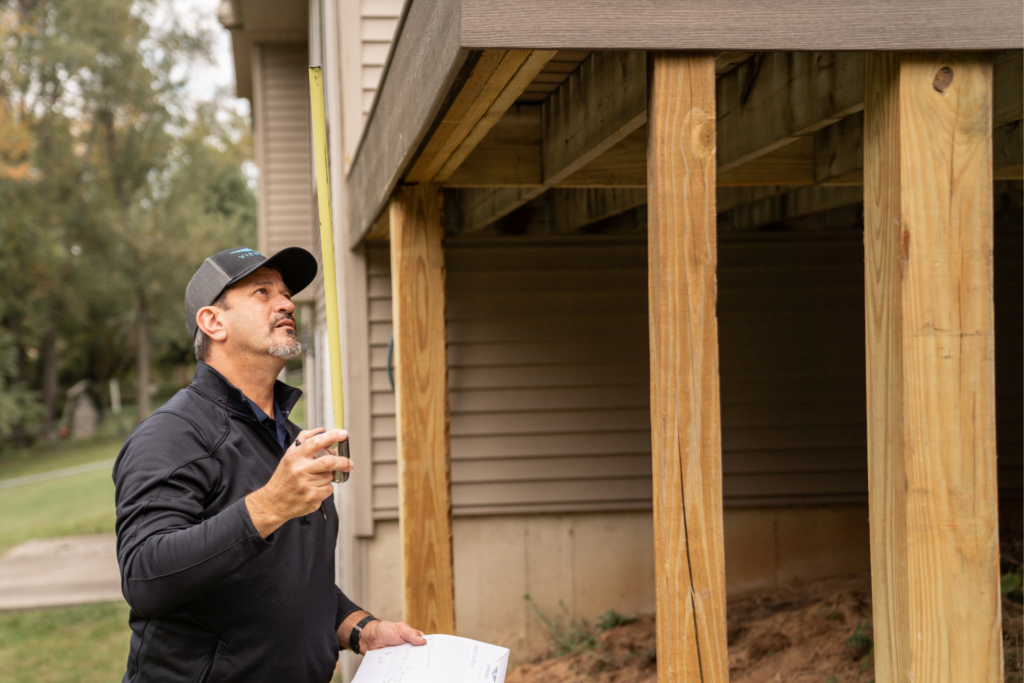
Every FLIGHT System is unique, and installation will look different depending on what system and configuration you purchase. To give you an idea, here are some of the basic steps involved in putting up a straight FLIGHT Mono staircase:
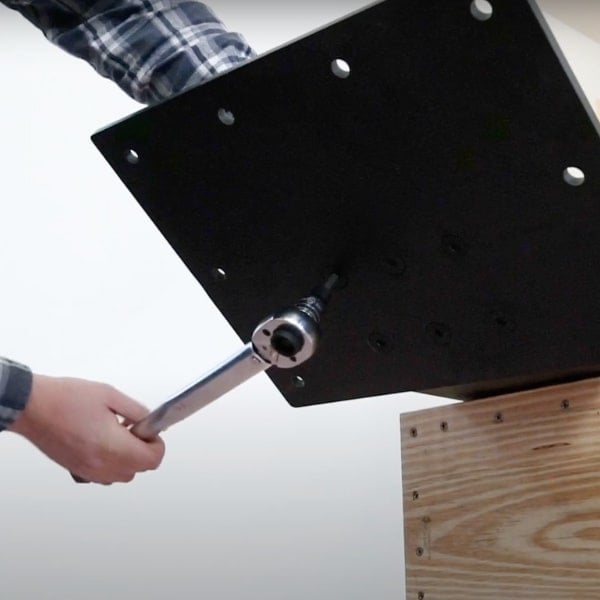
1. Prep the Stringer
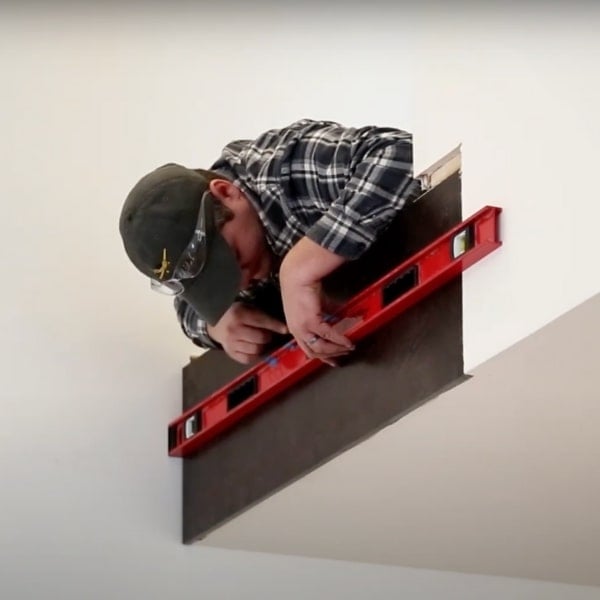
2. Mark the Header Position
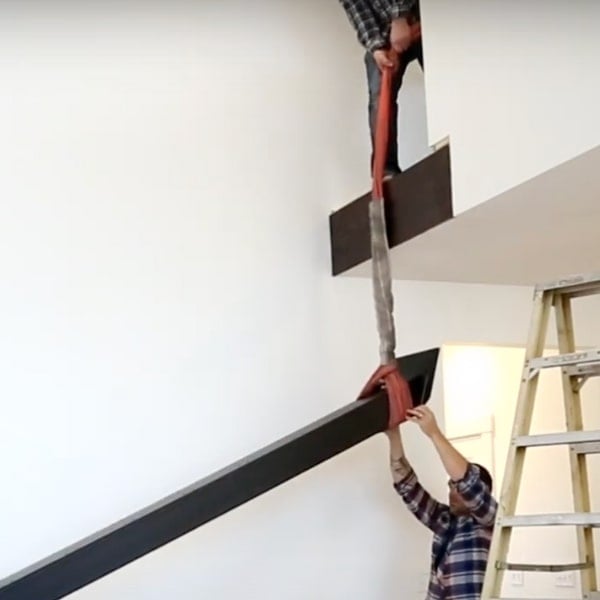
3. Raise the Stringer into Position
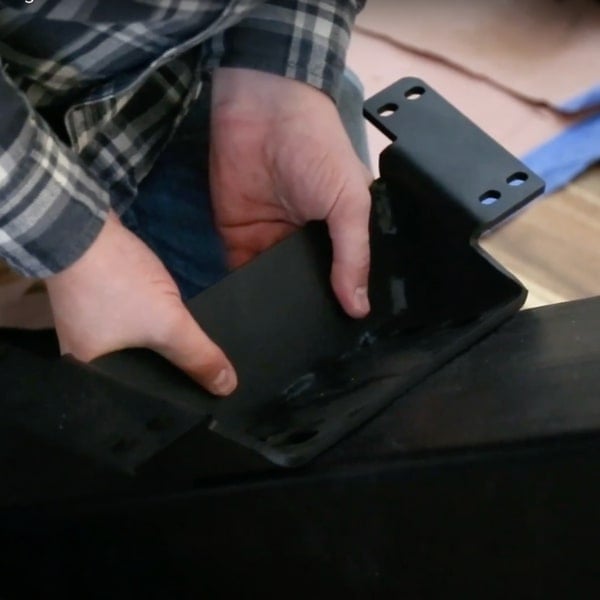
4. Install the Tread Brackets
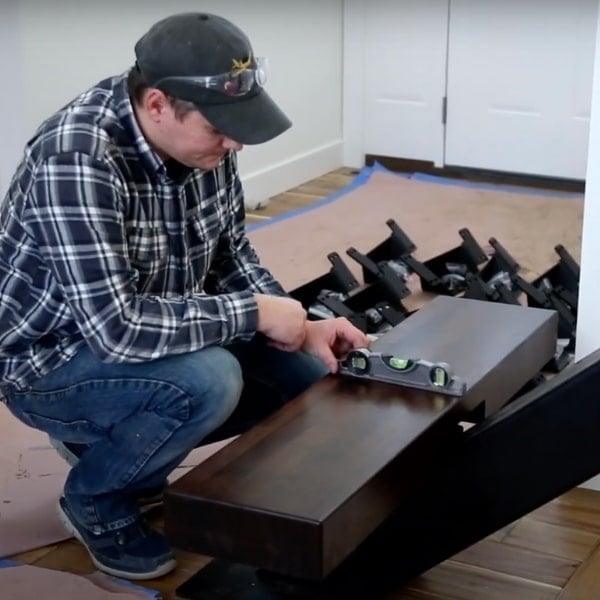
5. Ensure the Stringer is Level
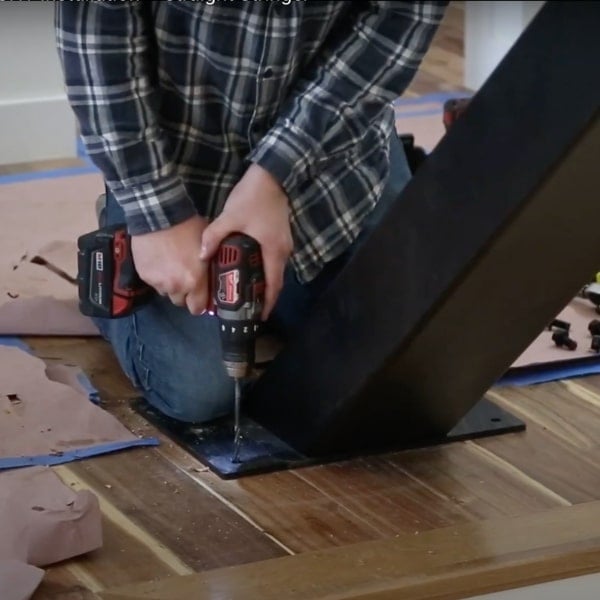
6. Secure the Stringer
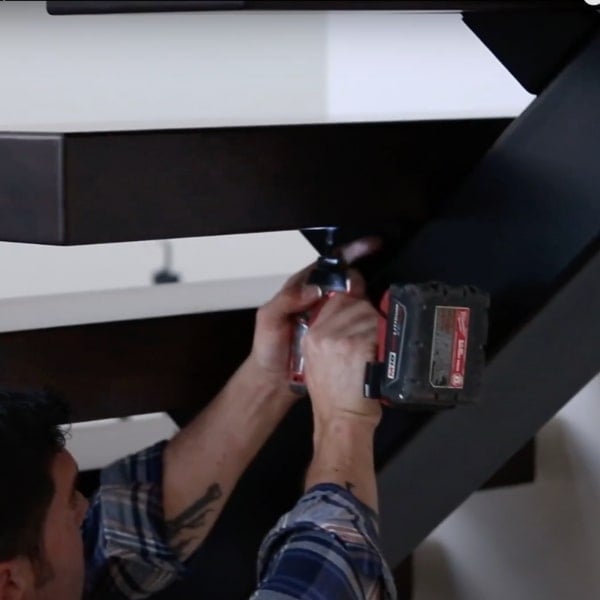
7. Secure the Remaining Treads
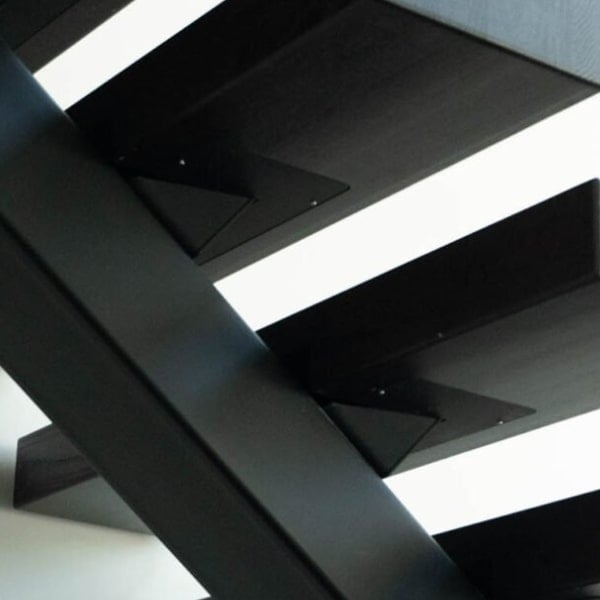
8. Install Tread Bracket Covers
Installation Complete
You've completed your FLIGHT system. Now what?
Learn How to Install Railing
Go here to see how to install our signature railing systems.
Get Maintenance Tips
If you use cable railing, you’ll get a stainless steel cleaner with your installation kit. Using a small amount on a microfiber cloth will keep it looking polished. If you’re using glass railing, check out our glass railing maintenance and safety page.
View Full Instructions
Want the full instructions for this staircase? See them here.
Get More Resources:
Head to our Resources page for installation guides, visualizers, FAQs, and more.
