Filter by
Installation Guides
PDFs
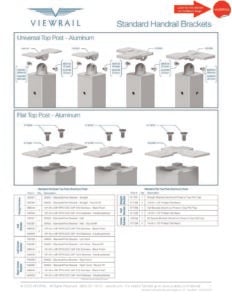 Standard Handrail Bracket DiagramsView Now
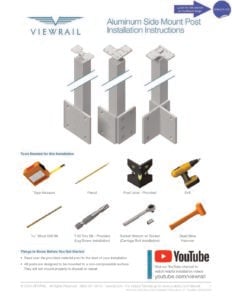 Aluminum Side Mount Post Installation InstructionsView Now
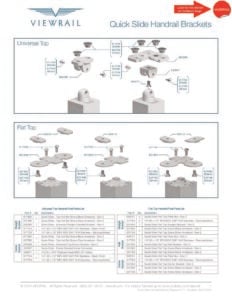 Quick Slide Handrail Bracket DiagramsView Now
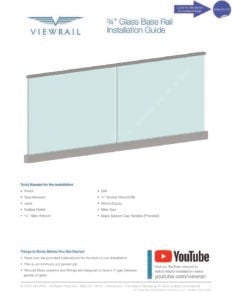 3/4" Glass Base Rail InstructionsView Now
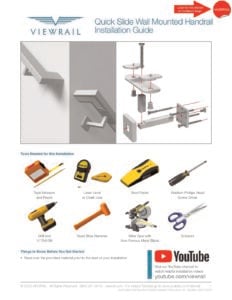 Quick Slide Wall Mount Handrail InstructionsView Now
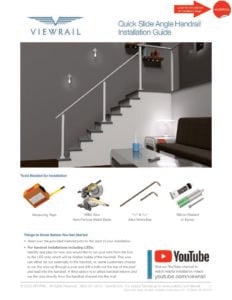 Quick Slide Handrail - Angle - InstructionsView Now
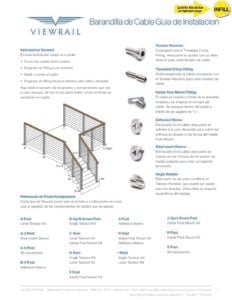 Cable Railing Spanish InstructionsView Now
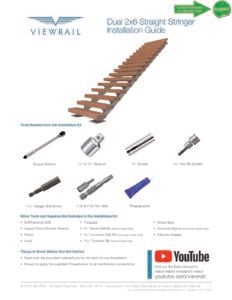 2X6 Dual Stringer InstallView Now
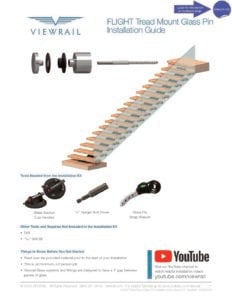 FLIGHT Tread Mount Glass Pin InstallView Now
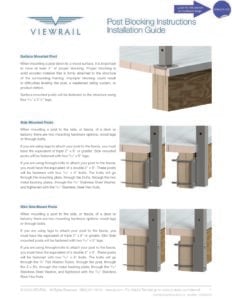 Post Blocking RequirementsView Now
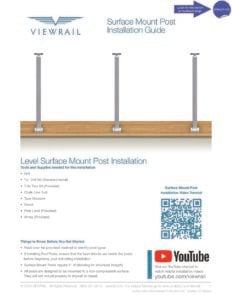 Surface Mount Post InstallationView Now
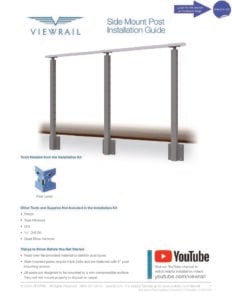 Side Mount Post InstallationView Now
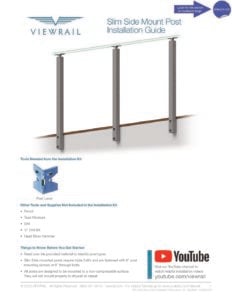 Slim Side Mount Post InstallationView Now
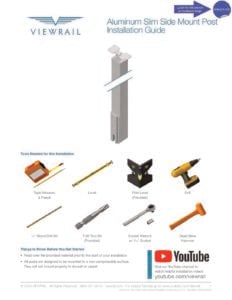 Aluminum Slim Side Mount InstallationView Now
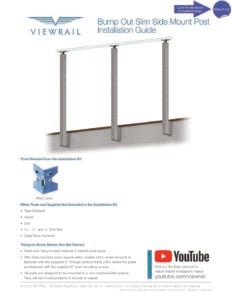 Slim Side Mount Bump Out Post InstallationView Now
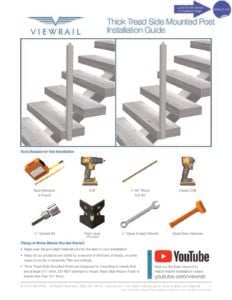 Tread Side Mount Post InstallationView Now
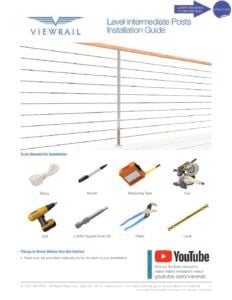 3/16" Intermediate Post InstallationView Now
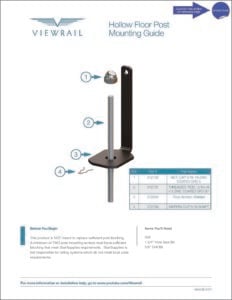 Hollow Floor Mounting InstructionsView Now
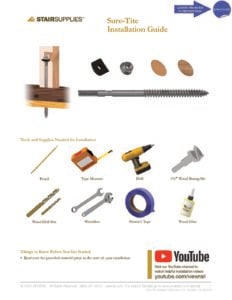 SureTite InstallationView Now
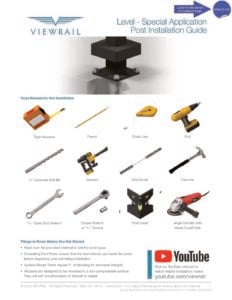 Special Application Mount InstructionsView Now
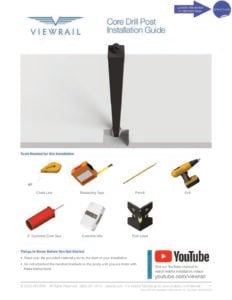 Core Drill Post InstallationView Now
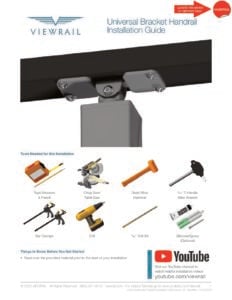 Universal Bracket InstallationView Now
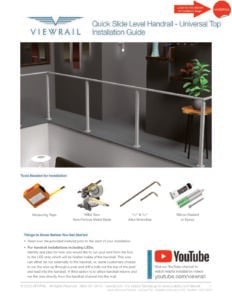 Quick Slide Universal BracketView Now
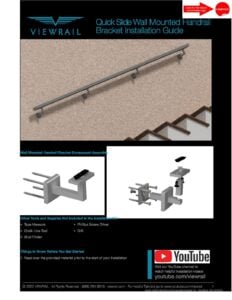 Quick Slide Wall Mount InstallationView Now
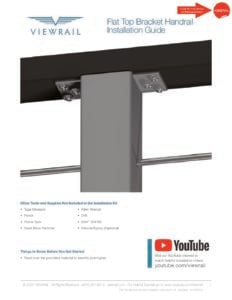 Flat Top Bracket InstallationView Now
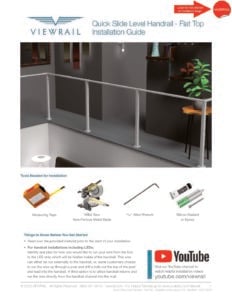 Quick Slide Flat Top BracketView Now
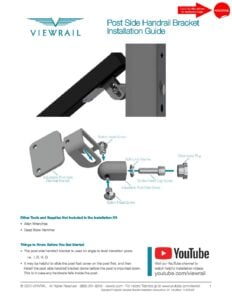 Post Side Handrail BracketView Now
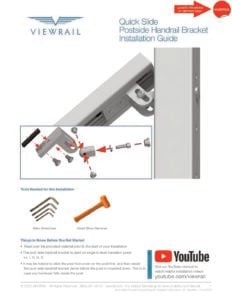 Quick Slide Post Side BracketView Now
 Express Cable InstallationView Now
 Cable Railing InstallationView Now
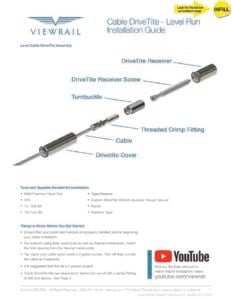 DriveTite InstallationView Now
 Rod Railing InstallationView Now
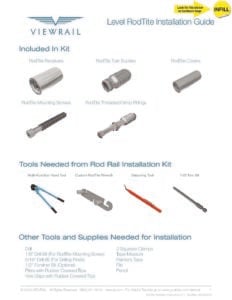 RodTite InstallationView Now
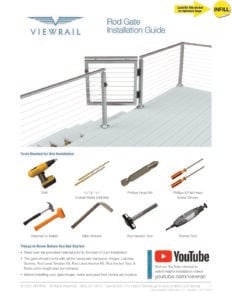 Rod Gate Install InstructionsView Now
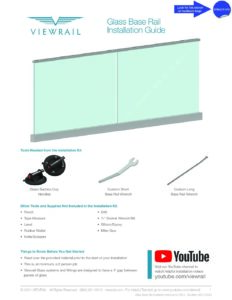 Base Rail InstallationView Now
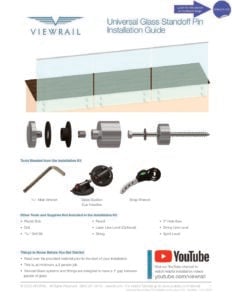 Stand Off Pin InstallationView Now
 Surface Talons InstallationView Now
 Side Mount Talons InstallationView Now
 Barrier Post Glass InstallationView Now
 Ascend Talons InstallationView Now
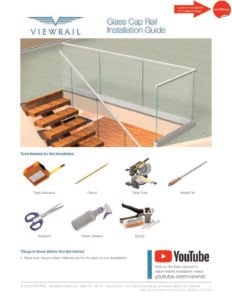 Cap Rail InstallationView Now
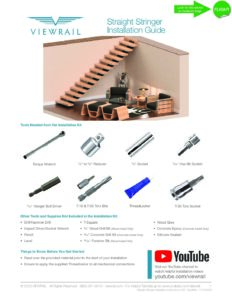 Straight Stringer Installation (Floor to Wall)View Now
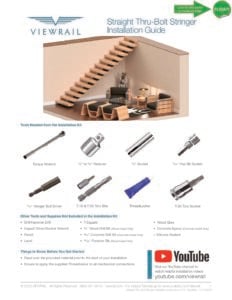 Straight Thru-Bolt Stringer InstallationView Now
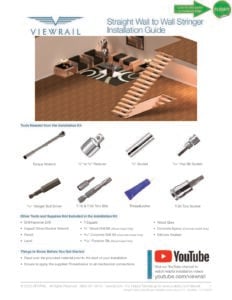 Straight Stringer Installation (Wall to Wall)View Now
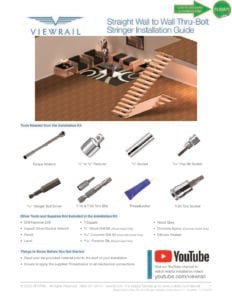 Straight Thru-Bolt Stringer Installation (Wall to Wall)View Now
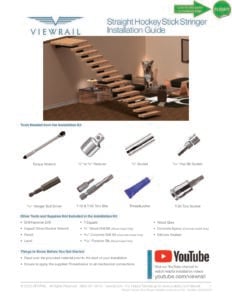 Straight Hockey Stick Stringer InstallationView Now
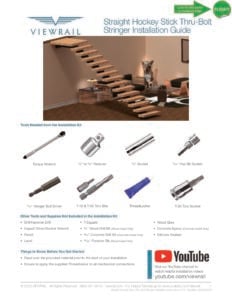 Straight Hockey Stick Thru-Bolt InstallationView Now
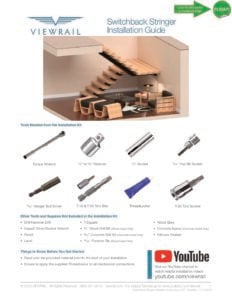 Switchback Stringer InstallationView Now
 Switchback Thru-Bolt Stringer InstallationView Now
 U Shape Stringer InstallationView Now
 U Shape Thru-Bolt Stringer InstallationView Now
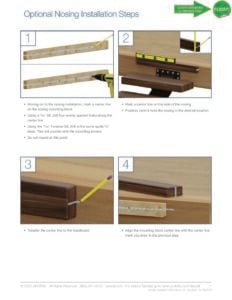 Nosing InstallationView Now
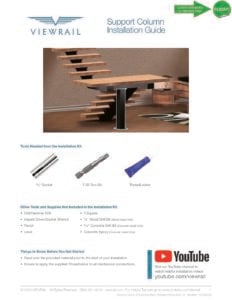 Support Column & Brace InstallationView Now
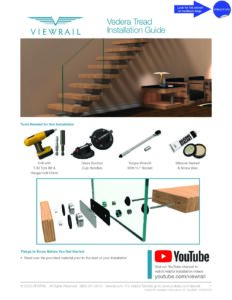 Vedera Glass Railing InstallationView Now
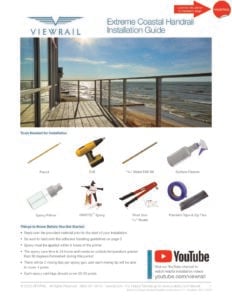 Extreme Coastal Handrail InstallationView Now
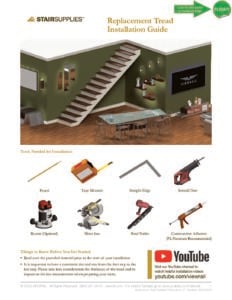 Replacement Tread InstallationView Now
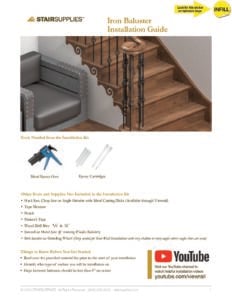 Iron Baluster InstallationView Now
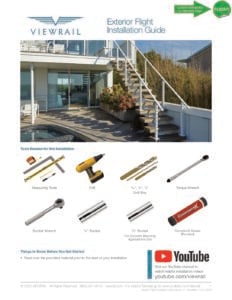 Exterior Flight InstallationView Now
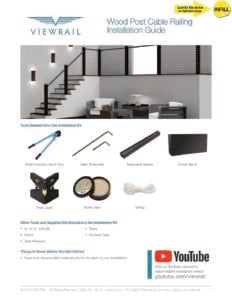 Wood Post Cable Railing Install GuideView Now
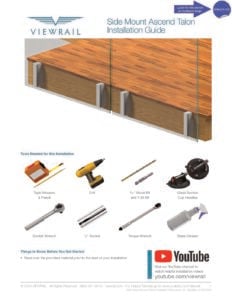 Side Mount Ascend Talon Install GuideView Now
 Quick Slide Wood Postside Bracket InstallationView Now
 Perforated Panel Installation InstructionsView Now
 Kneewall Transition Post Placement InstructionsView Now
 Glass Cleaning GuideView Now
 Terrace Installation InstructionsView Now
 Tread LED InstallationView Now
 LED Handrail Install GuideView Now
 Videos
 How to Install Quick Slide HandrailWatch Now
 Quick Slide Handrail on Flat Top PostsWatch Now
 How to Install a Cable Railing RunWatch Now
 Surface Mount Post InstallationWatch Now
 How to Cut and Mount HandrailWatch Now
 How to Install Postside Handrail BracketWatch Now
 Level DriveTite InstallationWatch Now
 Level DriveTite Kit AnimationWatch Now
 How to Couple RodsWatch Now
 How to Install Level Rod AnchorWatch Now
 How to Install Angle Rod AnchorWatch Now
 Rod Level and Angle InstallationWatch Now
 Glass Clip AnimationWatch Now
 Technical Information
PDFs
 Base Rail Product SheetView Now
 Signature Cable Railing Product SheetView Now
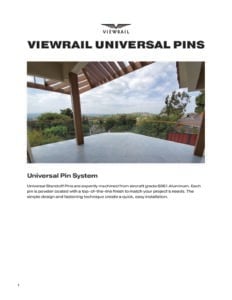 Universal Pin Product SheetView Now
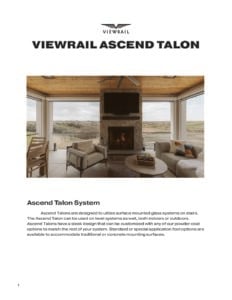 Ascend Talon Product SheetView Now
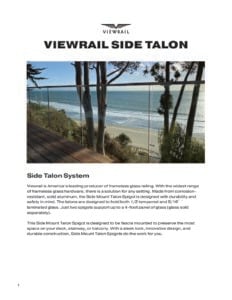 Side Talon Product SheetView Now
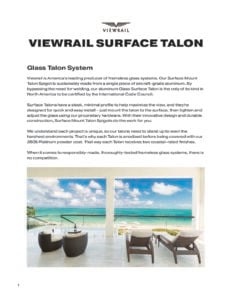 Surface Talon Product SheetView Now
 Pages
How to Buy Cable RailingFebruary 19, 2021Open
Cable Railing Code & SafetyApril 22, 2019Open
Cable Systems for DecksFebruary 14, 2019Open
Rod Railing Code & SafetyAugust 22, 2019Open
What is Rod Railing?February 19, 2019Open
Are Floating Stairs Safe?March 02, 2021Open
What are Floating Stairs?January 22, 2019Open
Are Glass Railings Safe?April 18, 2019Open
Tempered vs Laminated GlassApril 09, 2019Open
How to Buy Glass RaillingMay 14, 2019Open
Visualizer Tools
Blog Posts
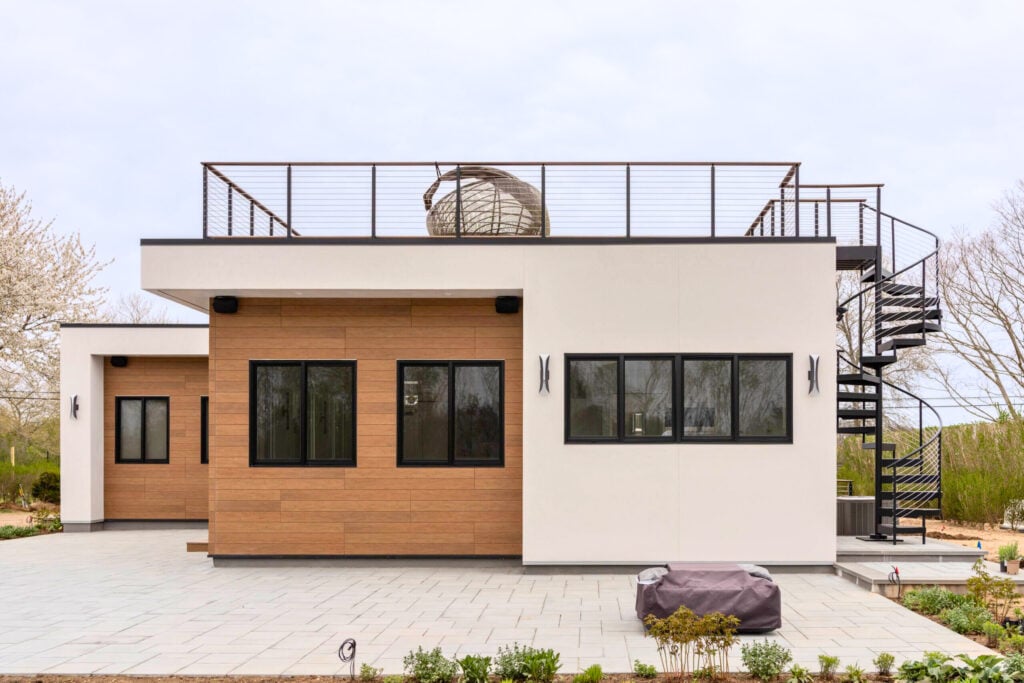 Taking FLIGHT in The HamptonsRead Now
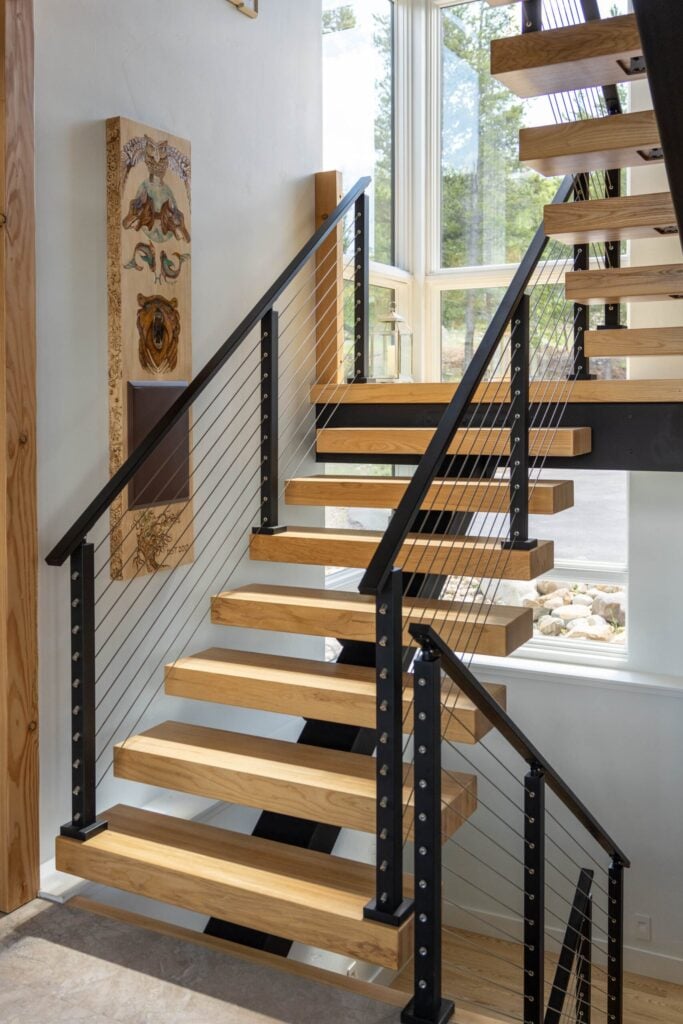 17 Modern Stair Railing IdeasRead Now
 The New American Home 2025Read Now
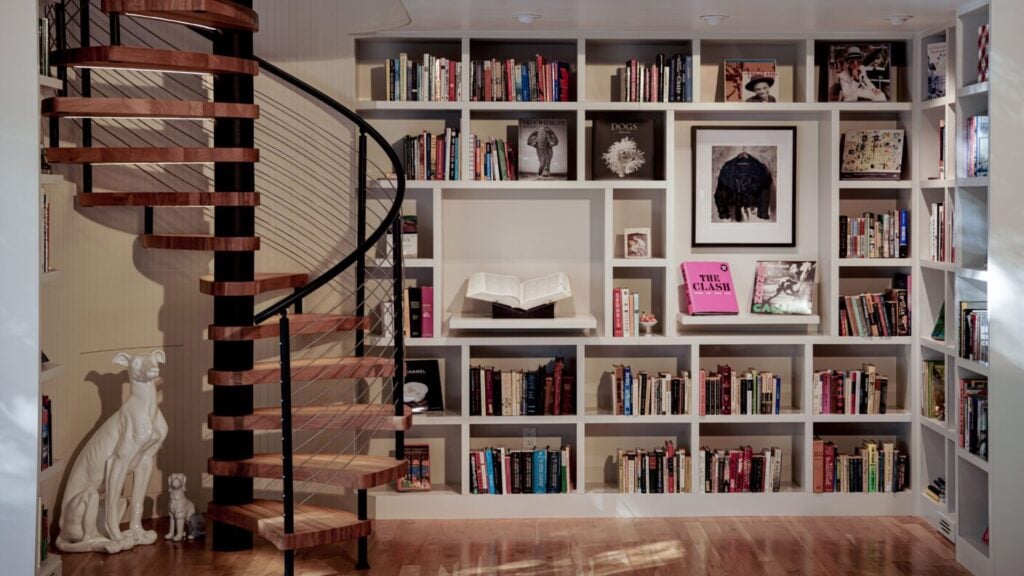 The Weinhardt’s FLIGHT SpiralRead Now
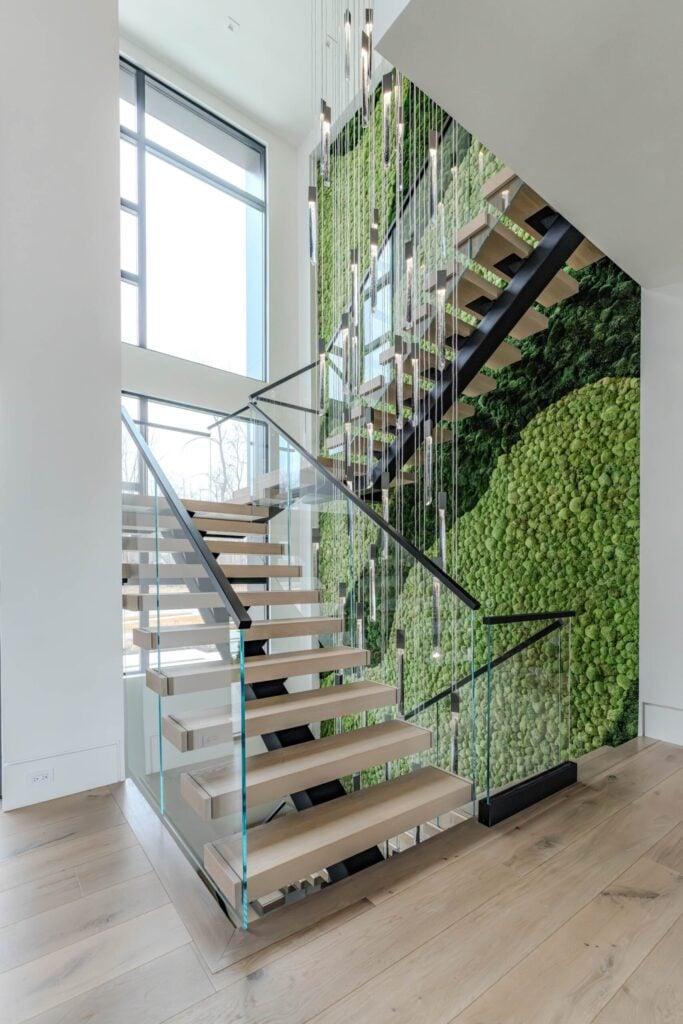 17+ Modern Staircase IdeasRead Now
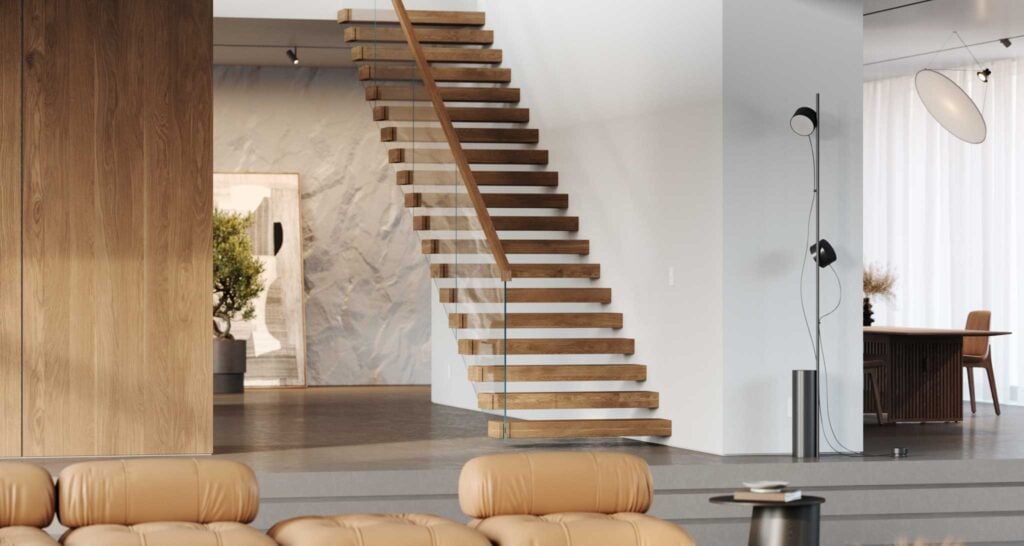 17+ Open Staircase IdeasRead Now
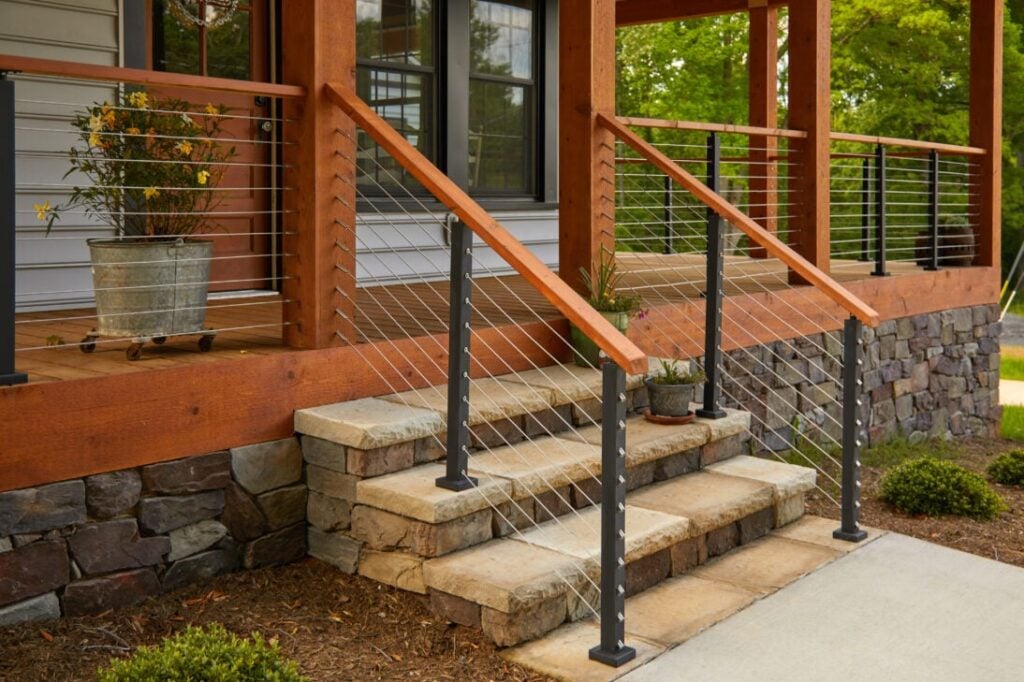 17+ Porch Railing IdeasRead Now
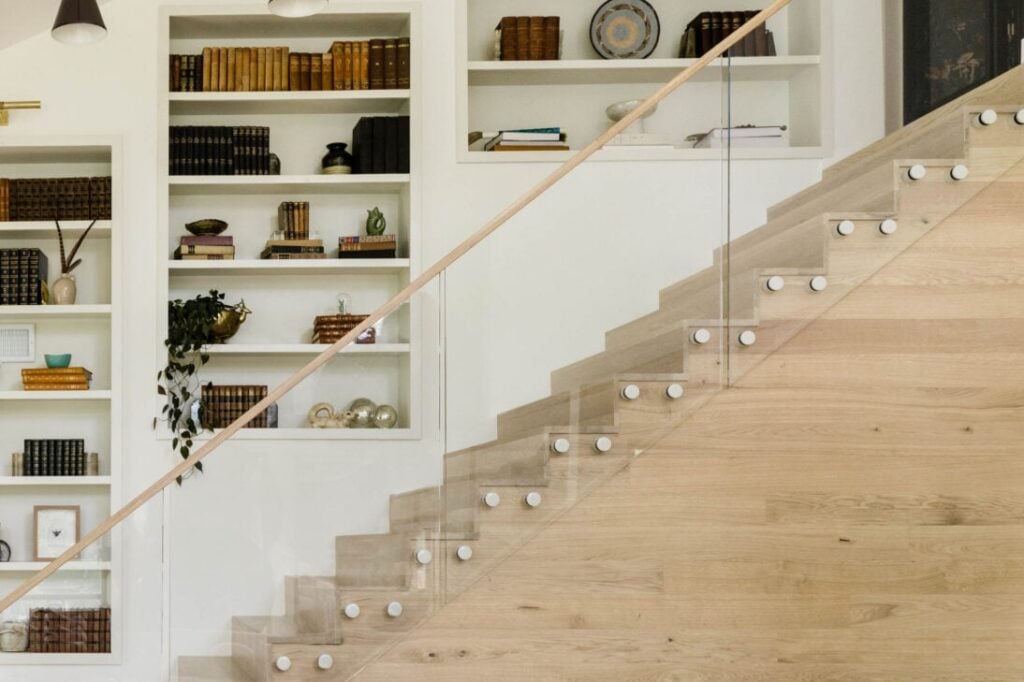 17+ Contemporary Railing IdeasRead Now
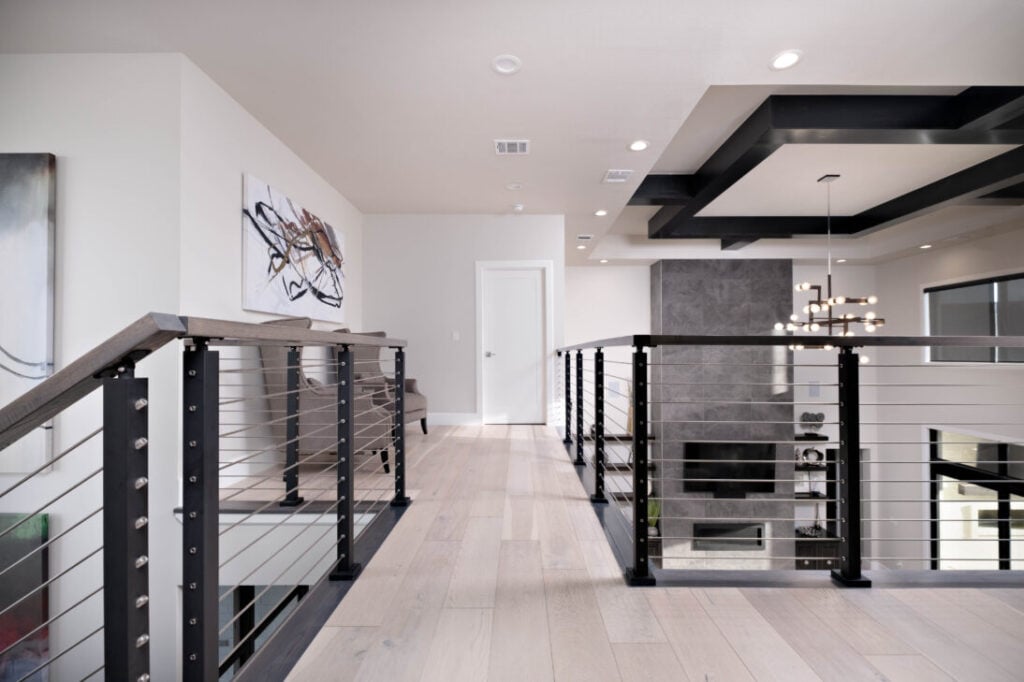 17+ Interior Balcony, Loft, and Indoor Railing IdeasRead Now
 4 Ways Floating Stairs Can Enhance Your Home DesignRead Now
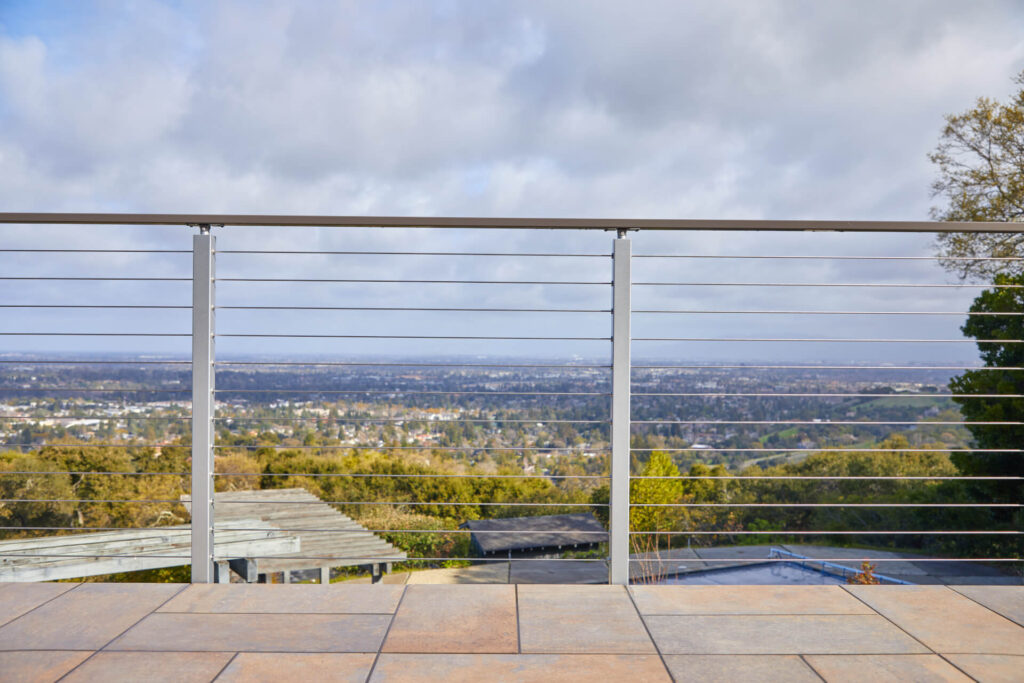 6 Cable Deck Railing Ideas You’ll Love Read Now
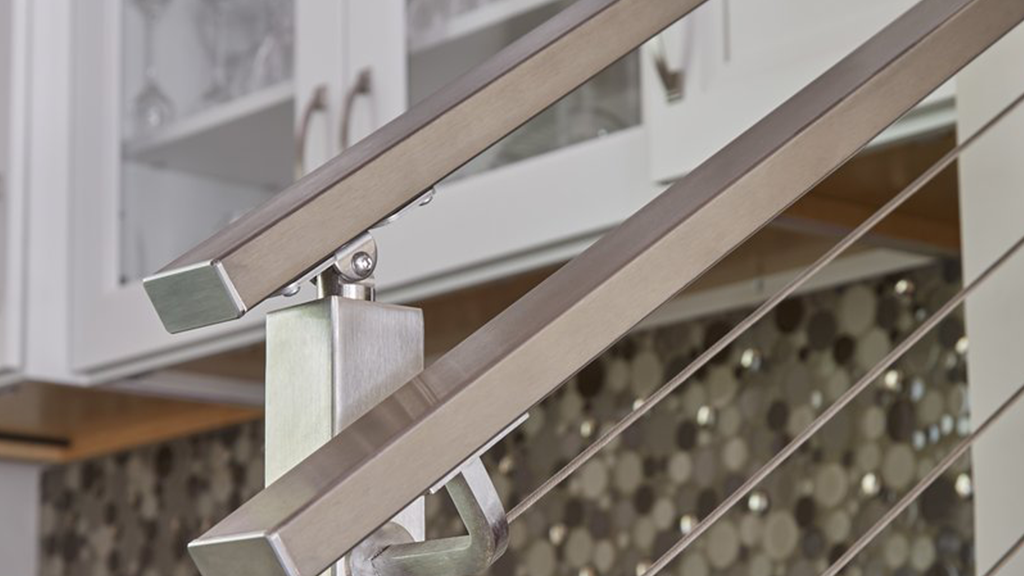 A Condensed Guide to HandrailRead Now
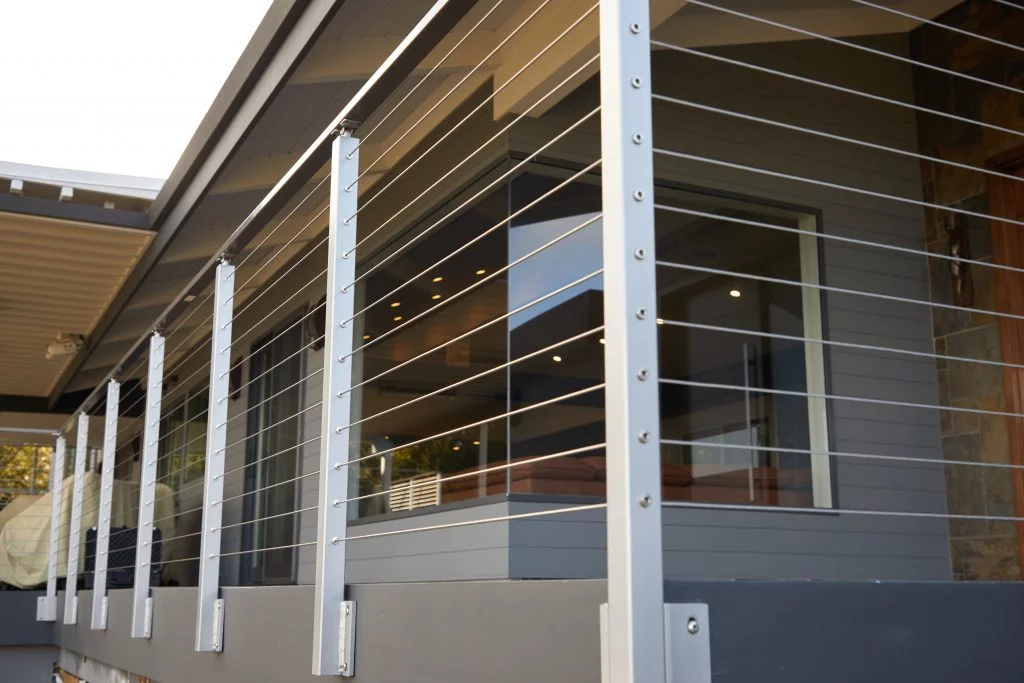 Pros and Cons of DIY Cable Railing InstallationRead Now
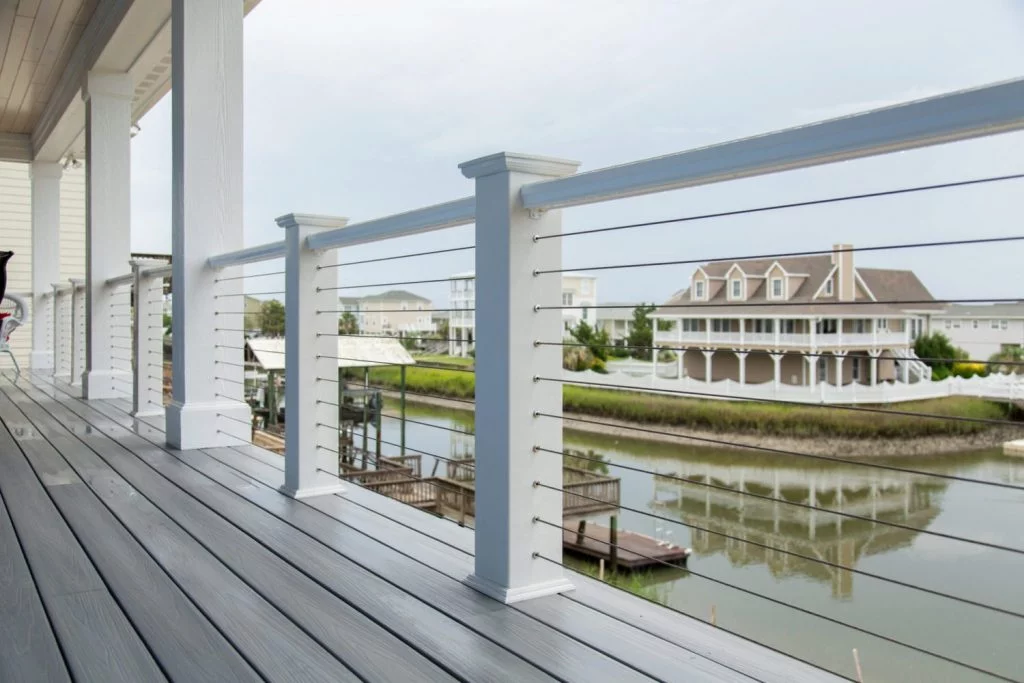 Wood vs Metal Posts: Which Is Better?Read Now
 April Wilkerson’s Curved Floating DeckRead Now
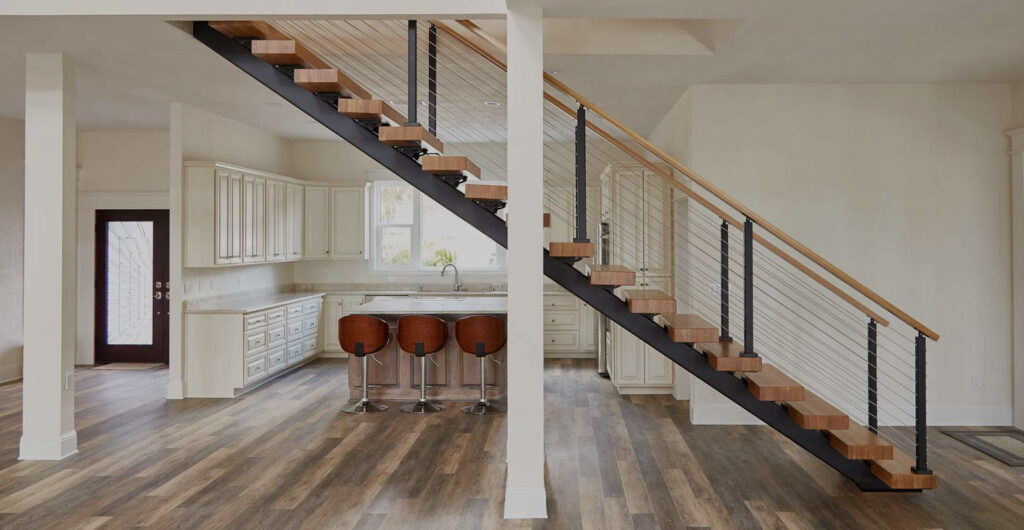 National modern stair and railing company offers architects an effortless experienceRead Now
 Viewrail Earns First-Ever ICC Certification for Floating StairsRead Now
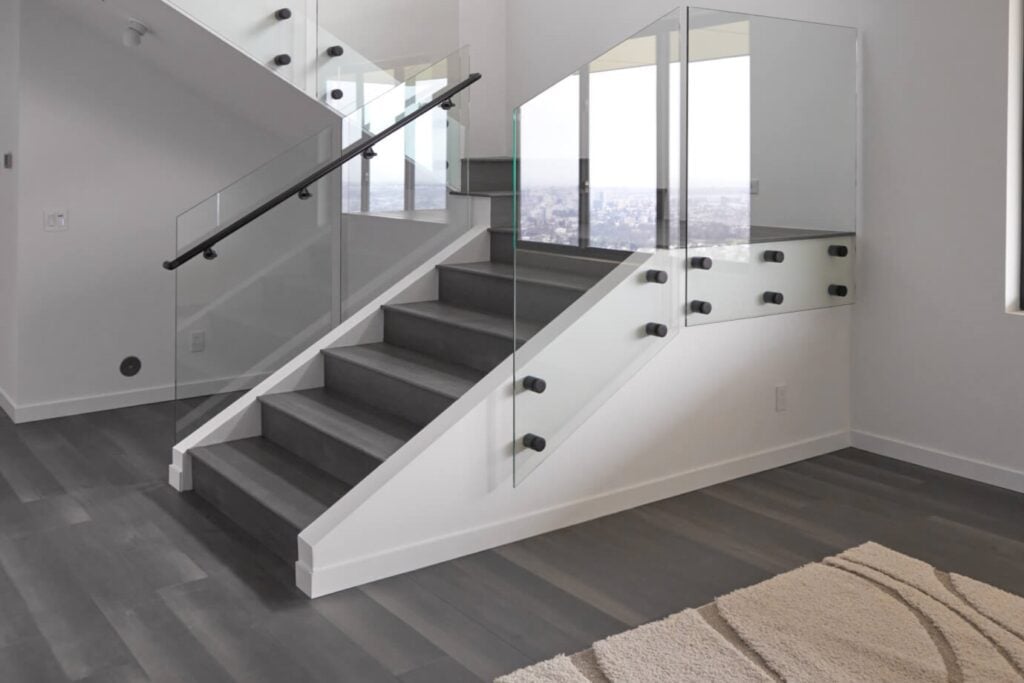 6 Unique Stair Railing Design Ideas to Hold On ToRead Now
 Cable Railing: The Perfect Choice for a Porch With a ViewRead Now
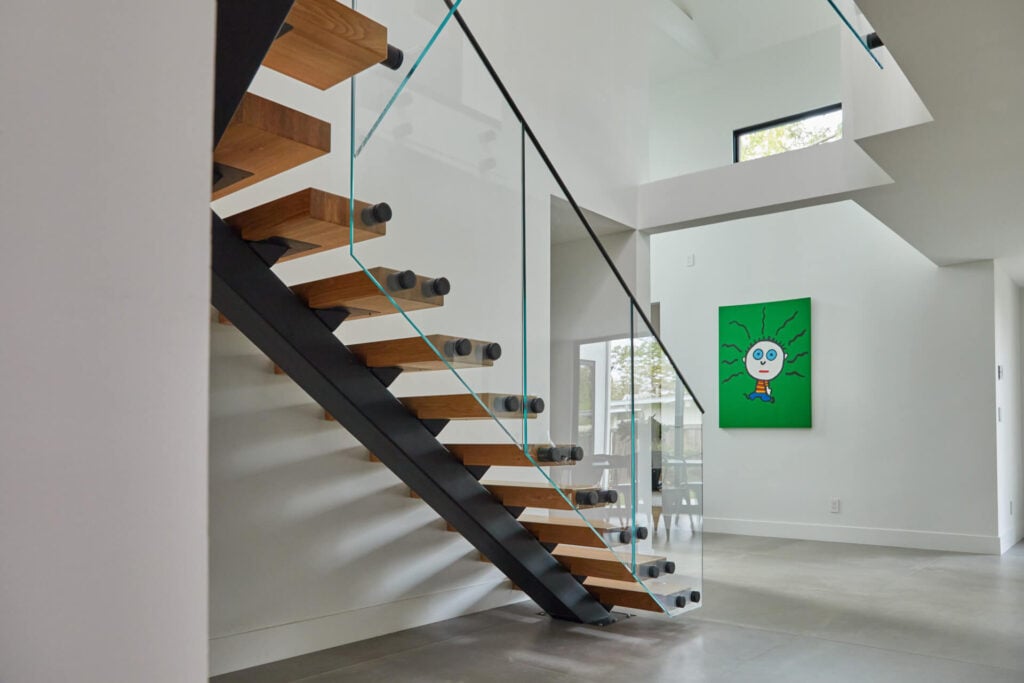 5 Instagram-Worthy Modern Floating Staircase Design IdeasRead Now
 5 Gorgeous Cable Patio Railing Ideas You’ll LoveRead Now
 Viewrail Increases Entry-Level PayRead Now
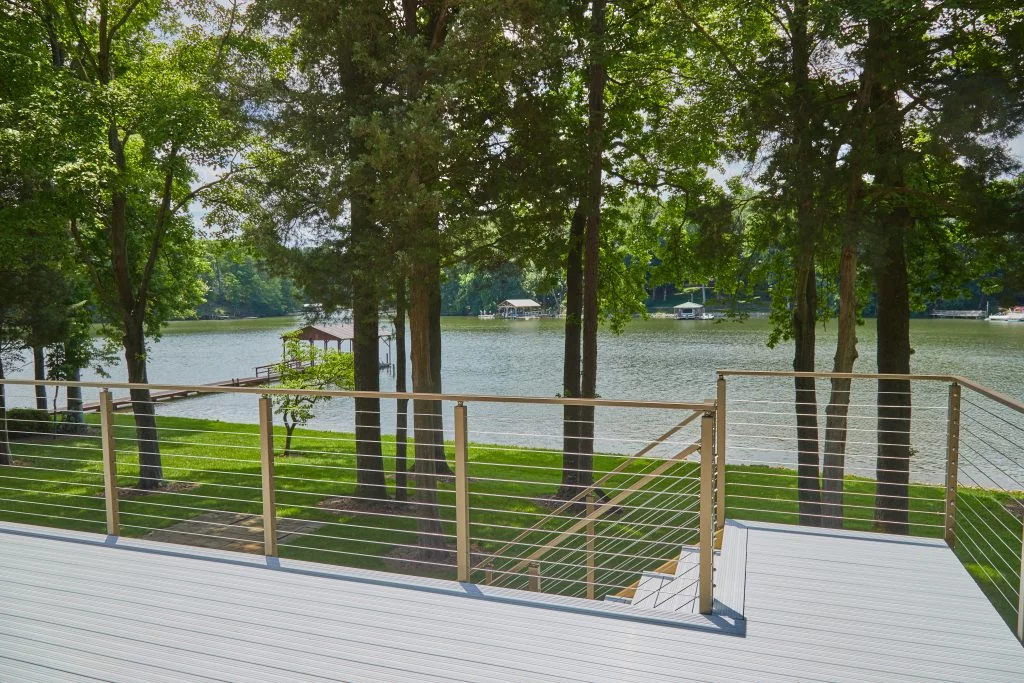 Tips For Installing Deck Railing By ViewrailRead Now
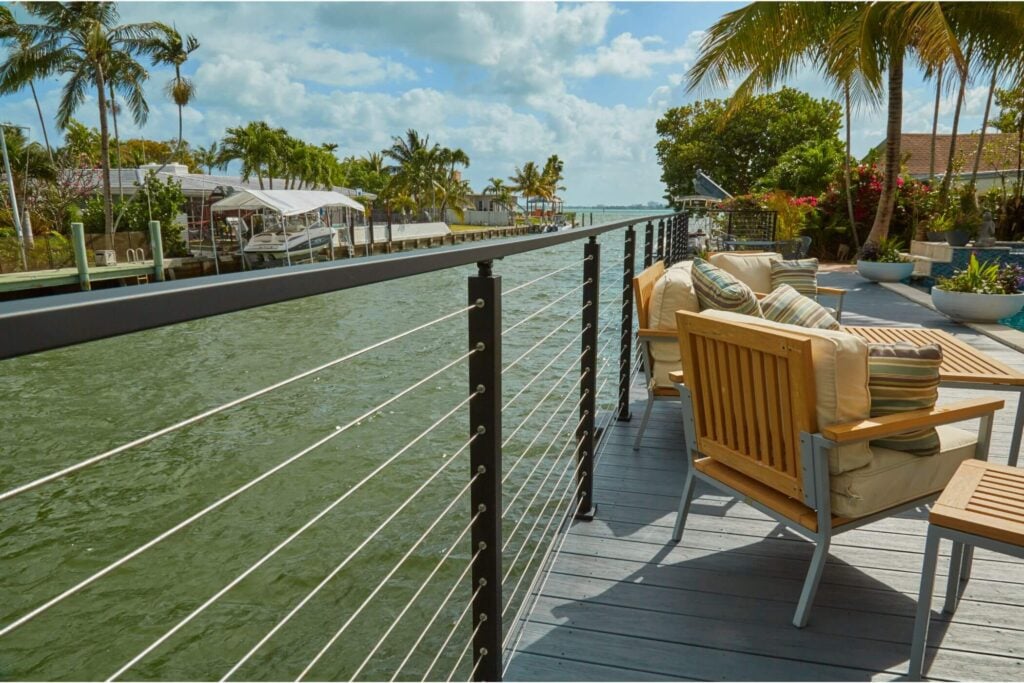 Maintaining Your Deck Railing SystemRead Now
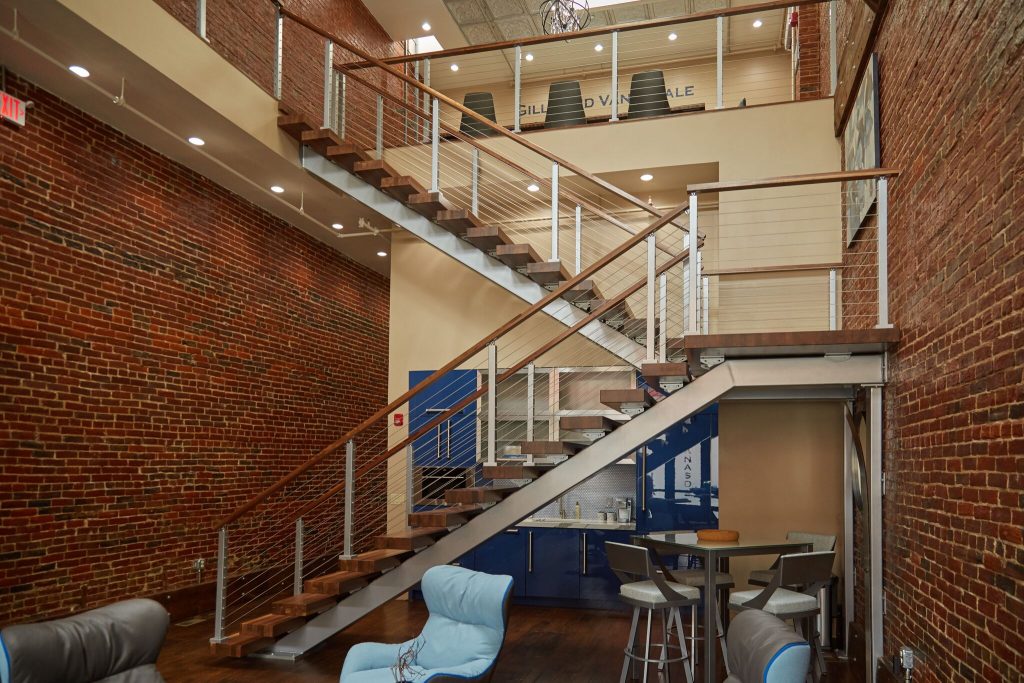 5 Modern Stair Projects We LoveRead Now
 DIY Cable Railing For DecksRead Now
 Interview with Paul DeGrandis, Owner of Sola GroupRead Now
 13 Best Woods for OutdoorsRead Now
 FAQs
Can I do a tread over 54" on my FLIGHT system?
54" is our maximum width for FLIGHT treads for our standard 6"x8" stringer. We can go up to 64" wide on treads but have to use an 8"x10" stringer. Over 64" needs a dual stringer.
For LED FLIGHT Treads - Are the LEDs capable of motion detection?
Motion detection capabilities exist however we have not yet tested them.
For LED FLIGHT Treads - What is the required amperage?
Amperage will vary per system and will be determined by how many treads are going to be lit.
For LED FLIGHT Treads - What voltage is required?
110V at either the top or bottom of the stringer. The provided 110V to 24V converter will be hidden inside the stringer.
Can Viewrail design stringers with compound angle connections?
Viewrail will only design stringers with compound angle connections for scenarios in which there are no existing space constraints (windows, walls, etc)
Can Viewrail cut a stringer at a compound angle so that it can adapt to a header with a non-perpendicular angle?
No - all header plates must be installed at a perpendicular angle to the stringer. However, the general contractor may build out the header to the necessary angle so that our header plate can be installed perpendicular to the stringer.
Can Viewrail provide a non-rectangular landing?
Yes, however, the customer must provide a .dxf or CAD file containing the exact dimensions to which the landing should be fabricated. Otherwise, Viewrail will fabricate an oversized rectangular landing that the customer can cut to size on site.
Can I use transition posts?
90 degree turns at top of FLIGHT systems can be achieved via a single I post, however, the post will be a custom post. A same-height transitions, such as 42” angle to 42” level (as frequently seen on commercial projects), must be double posted (B Down and A). Double-post transitions on 90-degree turns are strongly encouraged and allow for flexibility and adjustment during installation.
What type of finish is on Viewrail handrails?
Handrails, newels, and wood balusters are frequently touched items that require a Pre-catalyzed Lacquer finish often called Conversion Varnish. This finish is often used on kitchen cabinets as it’s designed to hold up against the natural oils on skin. That means that you don’t have to worry about what your hands are doing to your railing as you clutch your railing when you travel up and down your stairs. Instead, you can be confident that your stain will look beautiful for years to come.
Does Viewrail use polyurethane on our treads?
All tread materials and other products that you step on are finished with a Conversion Varnish. Used in the hardwood flooring industry, Conversion Varnish is strong and prepared to handle heavy use. Because it is sprayed onto products, Conversion Varnish is only sold in specialty stores. With Conversion Varnish, you’ll receive high-quality treads that will endure over time.
Are your stains oil or water based?
Neither. We use Conversion Varnishes on all of our wood products to create a finish that will last for years to come.
What do I cut my metal handrail with?
To cut a metal handrail, you can use a chop saw with a blade that is rated to cut metal, or a ferrous blade. Some customers even choose to just use a really good wood cutting blade for aluminum handrails. When cutting aluminum, it is helpful to also use a blade wax to help keep the aluminum off the blade.
Does your wood product work outside?
You can use our 6001 wood handrail or Endurance Treads, but anything else is only rated for interior use. Our wood glue is not rated for the exterior.
How do I drill my metal handrail?
Drilling a metal handrail is not as hard as it sounds. It just requires the correct tools and method. To start, make sure you have a good drill bit designed to drill metal. There are a variety of options. Cobalt steel drill bits are great for tougher stainless steel. When drilling stainless steel (or any metal) it is best to have a lubricated drill bit. There are a lot of options for drill bit lubricant or cutting oils as well. When drilling steel, one of the lesser known facts is to go slow. Drilling creates a lot of friction and therefore heat, and when heated, stainless steel begins to harden and becomes more difficult to drill. Taking breaks and continuing to use oil can help prevent this. If you have concerns drilling handrail, check out our Aluminum Quick Slide Handrail which doesn't require any drilling for installation.
Do you have a wall mount handrail bracket for concrete walls?
Our handrail bracket is not specifically designed for mounting to a concrete wall as the mounting hardware is for a wood application. However, if you would like to source your own concrete hardware, customers have been able to mount the bracket to concrete.
How do my metal handrails connect at a 90 degree corner?
When connecting your stainless steel handrail at a 90 degree corner, you have two options. You can either "butt joint" your handrail and simply set the end against the side of the other handrail. Or, you can miter your handrail. To miter your handrail you cut each handrail at 45 degrees and set them together with a diagonal seam to make the 90 degree turn. On a metal railing system, this seam needs to be supported on top of a post. If you have Aluminum Quick Slide Handrail, you will need to miter the handrail.
How do my metal handrails connect at a 135 degree corner?
Use a fine metal cutting blade to get a nice cut on the handrail. Carefully file off any burrs. Butt the two mitered ends together over a post bracket. Use matching touch up paint to reseal the metal.
How do my metal handrails connect at a straight connection?
On a straight connection point, simply butt two finished ends together over top of a post bracket.
What type of finish to you use on your handrails?
Wood handrails, newels, and wood balusters are frequently touched items that require a Pre-catalyzed Lacquer finish commonly called Conversion Varnish. This finish is often used on kitchen cabinets as it’s designed to hold up against the natural oils on skin. That means that you don’t have to worry about what your hands are doing to your railing as you clutch your railing when you travel up and down your stairs. Instead, you can be confident that your stain will look beautiful for years to come.
Can I get a metal handrail with a 90 degree return to the wall on both ends?
Yes! We can do this. Please call one of our representatives and they can put this order together for you.
Who measures and installs my FLIGHT system?
Viewrail FLIGHT is engineered and manufactured to order with next-level precision. Viewrail provides easy-to-take measurements. It arrives to you in pieces for a bolt-together assembly making it easy to install yourself... but you don’t have to. Viewrail is now offering full-service packages which include collection of field measurements and installation.
Does the FLIGHT system come in pieces, or is it assembled? Is it difficult to install?
The stringer is shipped in individual pieces to ensure the product is not damaged during shipment. There's no way for us to ship it assembled. That said, we send extremely comprehensive installation guides that will help make this process easy for you.
How do I order a FLIGHT system?
Upon receipt of project details (photos, floor plans, and/or basic field dimensions) Viewrail’s experienced designers will be equipped to assist you in customizing a stair and railing package that’s right for you and your project. With a design selected, our world-class engineering team will create shop drawings of the stairway to ensure a precise fit in your space.
Which wood do I choose for my FLIGHT project?
For the most part, one wood species is not "better" or "worse" than another. In many senses choosing a wood species and finish is a subjective choice. There are a few things to consider when selecting a wood species though. 1) Hardness, measured on the Janka scale, quantifies the density of the wood. The higher the Janka rating, the more durable the wood. 2) Grain pattern, some wood species, such as Hickory and White Oak, have well defined grain patterns, while others, such as Hard Maple, are more mild in nature. 3) Color, are you seeking something with a high level of color variation and character? Hickory or Walnut may be a good choice for you. Or rather, are you seeking something that is more single-toned and consistent? Hard Maple or Oak may be a good fit.
Can you give me the stringer(s) and brackets and I provide my own treads?
You are able to provide your own treads but you must have the ability to fabricate the treads to the dimensions that we specify. We can't build the FLIGHT system around a specific treads and tread dimensions that have already been chosen.
What is the difference between “B”, “BC”, and “BR” posts?
B posts are designed to be mounted towards the front of each tread, BC posts are designed to be mounted in the middle of the tread, and BR posts are designed to be mounted at the rear of the tread.
How much spacing do I need between my posts?
All of our systems are designed to meet the International Building Code which states that post spacing should not exceed 48” from post face to post face. Keeping this in mind, just space the posts equally while abiding by this code.
How many screws are needed per post?
You will need to occupy 4 of the pre-drilled holes in each post mounting plate for a secure connection.
What type of material can I fasten my posts into?
Any Surface Mounted Post needs to have at least 4" of solid mounting surfaces. Any Side Mounted Post needs to have at least 6" of solid material to mount into. If you are through bolting a Side Mount Post, you need at least 4" of solid material.
What size screw is needed?
You will need our 5/16" x 3.5" or 4" post mounting screws for any Surface Mounted Posts. If you are mounting on a 3" thick tread, you can use the 2.5" post mounting screws. For Side Mounted Posts you will need to use the 6" post mounting screw. There are "through bolt" options for each post type as well.
How far down do I mount my side mounted posts?
The top of your mounting plate is designed to sit 1 3/8" under the top of your mounting surface, or deck surface. Each plate is 6" tall, so you will need at least 8" of fascia board.
How close to the edge of my deck/balcony do I mount my posts?
This depends on your deck overhang and blocking location. When mounting your post, it's important to have the mounting holes above sufficient blocking. For surface mounted posts, this means 3.75" or more. If you are running a screw into that blocking, make sure to have the screw off the edge of the blocking material so it doesn't split out.
What is the most narrow an angled kneewall can be and still get an angled foot post?
A 4" wide kneewall is the most narrow for our standard angle foot posts. We do have a narrow foot post available for kneewall widths between 3"-4". Call a representative today if you need the narrow angle foot post.
What post do I need for mounting to concrete?
We would recommend our Special Application foot post. This has a 4.5" x 4.5" mounting plate allowing the mounting holes to be spread further apart.
Can I mount posts to pavers?
We wouldn't recommend mounting posts to pavers or bricks since these are typically not structural or attached well enough to existing structure to pass code.. Call one of our representatives to see what your options are for this application.
What is the dimension of the bump out block for the stainless steel slim side mount?
The additional block is 2" x 2" x 6", making the total post mounting dimensions: 2" wide, 6" tall, and 4" bumped out from the fascia.
Can I mix slim side mount and a standard side mount to wrap around an outside corners?
Yes, these can be used together. The each have 3/8" thick plates, so they will be in line with each other.
What is the difference between an "A-2" and "A-5" post?
Either post can be used as an intermediate (pass through) post for cable. However, the "A-2" post uses Steel Insert Sleeves as a washer for the cable to run through. "A-5" posts do not have Steel Insert Sleeves. The 5/32" cable passes through 5/16" holes.
What is the difference between an "I" and "D" post?
Each post is used to transition the cable from an angle run to a perpendicular level run. A "D" Post is used when you are making that transition between two runs at the same height. For example, a 36" high angled run to a perpendicular 36" high level run. An "I" Post is used when you are making that transition from a shorter angled to run to a taller level run. For example, a 36" tall angled run to a perpendicular 39" tall level run.
Can Express be used outside?
Yes, however, it has a standard black powder coat and comes with carbon steel post mounting screws/ As a result, it cannot be used within 10 miles of a saltwater coast.
What length of cable do you send?
Our cable is sent in spools of 100' or 400'. It is a 1x19 strand of 316 Stainless Steel Cable.
Do you crimp the cable kits for me?
We do not crimp the cable before shipping the product to you. The reason being, projects almost always are tweaked on site. Even if we feel we know all your lengths, it's likely a post will end up installed 1" off of what we thought, and so the cable kits would be wrong. That said, crimping is not difficult to do. The cable crimpers we send with our tool kits are easy to use and provide a strong connection.
What is the difference between an "H" and "G" post?
Each post is used to transition the cable from an angle run to a straight level run. A "G" Post is used when you are making that transition between two runs at the same height. For example, a 36" high angled run to a 36" high level run. An "H" Post is used when you are making that transition from a shorter angled to run to a taller level run. For example, a 36" tall angled run to a 39" tall level run.
How many kits do I need?
The amount of kits needed depend on the height of the post. For a 36" post you will need 10 kits per end post. For a 39" post you will need 11 kits and for a 42" post you will need 12 kits.
Can I use another size cable with your components?
No, our components are precisely engineered to work specifically with our 5/32" cable.
Can I use other companies product with your cable?
No, most companies fittings are designed for a different sized cable, or even a different quality of stainless steel cable. Even when customers use a "cheaper" 5/32" cable they found, the quality is usually lacking and the cable stretches. Similarly, our fittings are specifically designed to fit within our 2" x 2" posts and their subsequent wall thickness.
What are the longest runs of cable I can do?
This depends on the kits used. For any run with a "Level Tension Kit to Level Tension Kit" connection, 50' is the longest run recommended for optimal strength. If you have an "Inside Post Mount Kit to Level Tension Kit" run, 30' is the longest recommended length. If you have an "Angle Tension Kit to Angle Tension Kit" run, 30' is the longest recommended length.
Which way does a C Post face?
A "C" Post is either labeled as a Left or Right. Because they appear to be interchangeable they are often misplaced. However, on each "C" Post there are holes for a Level Tension Kit, and holes for a Inside Post Mount Kit. Typically, the Inside Post Mount Kit should be "pointing" towards the shortest run. Another way to remember this would be if you are standing on a deck, facing the corner post and the Inside Post Mount Kit cable run is going to your right, it is a "C" Right Post. Here is an example. You are on a U shaped deck facing outwards. There is an 8' run on your left, a 12' run in front of you, and an 8' run on your right. The corner post on your left should be a "C" Left, and the corner post on your right should be a "C" Right. This allows the longest middle run to have tension kits on either end. Keep in mind you cannot have two Inside Post Mount kits running to each other as there won't be a way to tension that run.
What size cable do you use?
Our cable is 5/32" in diameter.
Why won't the cable fit through my angled holes?
If you have provided the accurate angle to us for the post manufacturing and the cable still won't fit easily, try taping on our "guide pin" that comes in the installation kit to the end of the cable. Usually you can easily pass this through the hole and pull the cable through. If for some reason this is still not working, likely you have a steeper than average angle. If this is the case, then you may have to grab a 5/16" drill bit and angle out the hole a bit. Don't over do this step, as you still want the Adhesive Sleeve to cover your hole.
How far apart are the cables?
Our cables are spaced out 3 1/8" on center. When using a 4' spacing between posts, this keeps your gaps code compliant.
How do you single post corners?
We are able to turn a corner using a "C" Post, which utilizes two hardware kits inside the post. The "Inside Post Mount Kit" locks to the inside of the post and takes up minimal space, while the "Level Tension Kit" runs through the post on a perpendicular line. Each hole is at the same height location, so the cable runs do not need to be offset.
Can I go around 135 degree corners with cable?
Yes, you can usually turn a 135 degree corner. This is a project specific situation, and it's typically best to work with one of our sales representatives to make sure it will work. We recommend double posting this corner to help make a smooth transition. It is also recommended that you only attempt to do this turn if there are level tension kits on each end of the run, and that the run is no longer than 40' total.
What is 2205 Stainless steel?
2205 is a marine grade stainless steel designed to withstand most harsh corrosive environments.
Can 3/16" intermediate posts be used in conjunction with standard 2x2 posts?
No, the hole spacing won't line up correctly. By code, 2" x 2" posts are required every 4' to withstand the correct amount of force.
Can I use aluminum posts around my swimming pool?
Yes! With our 2605 Endurance Powder Coat, Aluminum posts can be used safely around pool deck perimeters. Of course, constant immersion in chlorinated water is not idea for most metal types.
At what Janka rating do I need to switch from DriveTite to Wood tension kits?
Any wood type with a Janka Hardness rating of 690 or above is sufficient for DriveTite. This the rating on pressure treated pine. Cypress, Douglas Fir, Western Red Cedar are all too soft for DriveTite.
Can we use DriveTite on Cypress? Cedar? Douglas Fir?
No, Cypress, Cedar, Douglas Fir are all too soft for DriveTite/RodTite. You would need to purchase Wood Level/Angle Tension Kits. DriveTite/RodTite requires a Janka Hardness rating of 690 or above.
Which posts are tension posts?
A, B-Up, B-Down, C, D, G, I , are all paired with a tension kit.
Which posts use Inside Post Mount Kits?
C, F, H, J, R all pair with a key mount kit.
Can I get raw aluminum posts? Not even for indoor projects?
Raw aluminum posts will quickly begin to oxidize without a coating as it reacts to the moisture and oxygen in the air. If you need raw aluminum posts, call one of our representatives to discuss your options.
How much blocking/material is needed for DriveTite?
DriveTite needs to be mounted into at least 2.5" of solid material in order to hold correctly.
How much blocking/material is needed for RodTite?
RodTite needs to be mounted into at least 2.5" of solid material in order to hold correctly.
I need a post that is taller/shorter than your standard posts? Is this possible?
Yes, it is likely possible. Call a representative today to inquire about a custom sized post.
Do you have any " IN STOCK" cable options?
Yes! Our Express Railing is in stock and ships within 2 business day. This is not recommended for coastal applications (within 10 miles of saltwater). DriveTite Kits are also an "IN STOCK" option. DriveTite is cable and kits are paired with wood posts.
How do I cut my rods?
Rods are easy to cut. We are able to provide an angle grinder and grinding wheels if needed. While you can use anything rated to cut metal, we have found the angle grinder is easily handled and precise. Use our deburring tool to quickly remove any rough edges or burrs from the cut.
Are Rods stronger than Cable?
Yes, rods do finish with better test results than cable. Cable is still extremely strong, but the solid design of the rods and the hardware used provides incredible strength.
Can I use Onyx Rods outside?
Yes, standard Onyx Rods can be used outside. However, they have a standard black powder coat on 304 Stainless Steel and cannot be used within 10 miles of any salwater coast. However, our Endurance Onyx Rods with our endurance powder coat can be used in coastal applications.
Won't the hollow rods bend?
Yes and no. Yes, if they are not tensioned, these rods can be bent. However, once tensioned with opposite lateral force, the rods become extremely difficult to bend. Rods can run along a curve before being tensioned, then once tensioned are very difficult to bend.
If my rods bend, do I need new rods?
Typically no. Although it depends on the amount of damage done, most of the time rods can be "retightened" and straightened out without any issue.
What lengths can I get the rods?
Standard Stainless Steel 1/4" rods are available in 4', 6', 8', 10', 12', 14', 16', 18', and 20'. Onyx 1/4" Rods are available in 4', 6', 8', 10', and 12'.
What if my run is longer than the rods available?
With Rod Couplers you are able to connect certain lengths to create a rod length that matches your run. It is recommended to keep your rod lengths 40' and under. With more than one coupler, it becomes difficult to hide the coupler and crimp marks inside the post.
What are these foam pieces with my posts?
Keep the foam inserts. They are designed to be inserted into the post before mounting down the post. This helps prevent the rods from moving around inside the post holes, keeping the system quiet.
Which way does a C Post face?
A "C" Post is either labeled as a Left or Right. Because they appear to be interchangeable they are often misplaced. However, on each "C" Post there are holes for a Level Tension Kit, and holes for a Rod Anchor Kit. Typically, the Rod Anchor Kit should be "pointing" towards the shortest run. Another way to remember this would be if you are standing on a deck, facing the corner post and the Rod Anchor Kit rod run is going to your right, it is a "C" RIght Post. Here is an example. You are on a U shaped deck facing outwards. There is an 8' run on your left, a 12' run in front of you, and an 8' run on your right. The corner post on your left should be a "C" Left, and the corner post on your right should be a "C" RIght. This allows the longest middle run to have tension kits on either end.
How do you single post corners?
We are able to turn a corner using a "C" Post, which utilizes two hardware kits inside the post. The "Rod Level Anchor Kit" locks to the inside of the post and takes up minimal space, while the "Level Tension Kit" runs through the post on a perpendicular line. Each hole is at the same height location, so the rod runs do not need to be offset.
Can I go around 135 degree corners with rods?
Yes, you can usually turn a 135 degree corner. This is a project specific situation, and it's typically best to work with one of our sales representatives to make sure it will work. With rods, it requires on-site bending and is reliant on the installer to do. Some customers choose to pre-bend the rods and slot them through the post, and others will mount the post and bend the rod against the post holes to make the turn. Rods are a little trickier than cable to make a single 135 degree turn.
Does the rod pass through the G or H post at the top of the stairs?
No, "G" and "H" posts utilize Rod Anchor Kits to start and stop the rods for these transition posts.
At what Janka rating does RodTIte work?
Any wood type with a Janka Hardness rating of 690 or above is sufficient for RodTite. This the rating on pressure treated pine. Cypress, Douglas Fir, Western Red Cedar are all too soft for RodTite.
What size holes do rod posts have?
The posts have 5/16" holes for the rods.
Do you sell glass?
Yes! Although not available to purchase through the website, we have an entire Glass Department and glass production plant. Each panel is custom engineered and produced to fit your specific project.
How can you ship glass without it breaking?
Tempered glass railing panels are extremely strong by nature. They are constructed to withstand large amounts of force. For each project we build custom crates specifically to transport glass directly to you. With the correct padding and crate construction, it's easy to consistently ship glass safely.
Is glass safe?
Yes, absolutely. There is an enormous difference between the production process for a glass cup compared to a glass railing panel. There's a reason so many commercial, high traffic buildings have glass railing. Glass typically yields the strongest test results out of any railing.
How can you make glass to fit my project?
We ship out glass projects everyday. Before we start the engineering process for a glass order, we ship to you to scale Acrylic Templates. Using the double sided tape we send, you simply mount the templates in place where you want your glass ends, measure the outside to outside, and write it down for us. We take those measurements, have our engineering team plug them into a custom coded generator, and out pops your glass dimensions. These are then reviewed by your Glass Tech Representative and yourself. Once you both are comfortable with the drawings, we begin production.
How can I move the glass panels?
With each glass project, we send out an installation kit that include glass moving clamps. These are high strength suction cups that attach to the glass panel. Because panels are generally around 4' wide, they can be moved with these clamps. It may be good to have a partner help with the move.
How do I trim my top cap?
Our aluminum glass cap is very easy to trim. In fact, many customers utilize a wood blade (the more teeth the better) and WD-40 lubricant to help cut their caps.
What do I do with the rubber gasket?
The gasket is designed to fit over the glass before you place the metal top cap on. You can spray windex on the glass before placing on the rubber gasket to help with its positioning.
What are these plastic inserts with my talons?
These polycarbonate gaskets are set in each talon for the glass to sit in. They help protect the glass from contact with any rough surface.
What is the difference between 1/2" and 9/16" glass?
1/2" Tempered Glass is the standard for residential projects. It works with any of our systems and is incredibly strong. Glass rarely breaks, but just to describe a physical trait of a tempered panel, when tempered glass breaks it is broken into a bunch of small glass cubes. This is not at all similar to the "shard like" glass you think of with a broken cup. 9/16" Laminated Glass is the standard for extreme wind and commercial projects. It consists of two layers of 1/4" tempered glass and lamination in the middle holding them together. Think of a car windshield. These panels are able to flex a little bit more and can withstand higher (albeit slightly excessive) force. In the event of a panel breaking, the glass is designed to bend or fold over, but remain most in tact.
Why does my tracking number says “invalid?"
Your tracking number will not go live until the freight carrier scans the shipment at their facility. If you just received the email with tracking, please wait until later in the evening then try it again. If you’re still getting the same message then, please reach out to us.
Do you ship products outside of the U.S.?
We ship to anywhere in the United States and into Canada. If you want our product shipped to a country other than the US and Canada, we can ship it to a freight forwarder, at which point the shipment is your responsibility.
How can you ship glass without it breaking?
Tempered glass railing panels are strong by nature. They are constructed to withstand extremely large amounts of force. For each project we build custom crates specifically to transport glass directly to you. With the correct padding and crate construction, it's easy to safely ship glass .
Do I have to be present when my shipment is delivered?
This depends on the size of your shipment. If your shipping notification references a "GROUND" shipment, this can be dropped off. If it is a "FREIGHT" shipment, someone will need to be present to sign for the delivery. The freight carrier will reach out during transit to schedule the delivery.
If I get my wood items finished by you do I need to clear coat them?
If you receive a finished wood product produced by us, we include the clearcoat in our finish
Are your wood products one piece? Are they veneer? Are they solid?
All of our handrails are made from solid wood. Our Standard and Signature tread offerings are composed of a Huber board internal core and a hardwood wear layer, depending on which wood you select for your project. We also have butcher block treads available upon request.
Are your wood products measured with lumber measurements?
Our products are not measured with lumber or nominal measurements. Each measurement you see is accurate to what you will receive
Can you stain match to my existing wood?
We will not mix a custom stain to match, but if you send in a sample of your existing wood to us, our team will match that to the closest stain option we offer.
What is the difference between a 1” tread and a replacement tread?
The 1” tread is used when there is no substructure tread in place, and/or when you are tearing out the existing tread. The replacement tread is used when you are keeping the existing substructure or tread and simply need a new tread to slide over place.
What type of wood can I use for my treads?
Any wood species with a Janka rating of 900 or above is considered a good option to use for tread material. As a product designed to withstand repeated and concentrated foot traffic, it is important to use a dense enough wood to withstand years of use.
What width do I order my treads?
Regardless of whether you use tread returns or not, the width of your tread should match the width of the surface you need to cover. This is called the “throat cut.” Returns are additional pieces designed to overhang open space, and are not included in the tread width dimension. If you do not have double returns, it is recommended to oversize the tread width slightly. This will allow you to have "room for error" and you can trim the thread on site to fit each step perfectly.
What is a tread return?
A tread return is additional material on the left or right side of the tread body that is designed to overhang “open space.” These are rounded to match the front of the step, or bullnose, and provide a beautiful finished edge. Each return is 1 ¼” wide, and is additional to your tread width. For example, if you select a 36” tread with returns on both sides, the throat cut would be 36" while the total tread width including the returns would be 38 ½”.
What is tread depth?
Tread depth is the total front to back measurement of the tread. Unlike tread returns, the 1 ¼” front nosing is included in this measurement. For example, if you have a 11 ¼” deep tread, only 10” of that measurement is designed to sit on the structure.
Does your wood product work outside?
You can use our 6001 wood handrail or Endurance Treads, but anything else is only rated for interior use. Our wood glue is not rated for the exterior.
What sealant/clearcoat do you use?
We use an oil based varnish with either a 5 or 30 sheen finish.
Which wood do I choose?
For the most part, one wood species is not "better" or "worse" than another. In many senses choosing a wood species and finish is a subjective choice. There are a few things to consider when selecting a wood species though. 1) Hardness, measured on the Janka scale, quantifies the density of the wood. The higher the Janka rating, the more durable the wood. 2) Grain pattern, some wood species, such as Hickory and White Oak, have well defined grain patterns, while others, such as Hard Maple, are more mild in nature. 3) Color, are you seeking something with a high level of color variation and character? Hickory or Walnut may be a good choice for you. Or rather, are you seeking something that is more single-toned and consistent? Hard Maple or Oak may be a good fit.
Do you have exterior treads?
For an exterior application, we offer the thicker "Endurance Treads" that are typically used on open stair cases. Our other wood tread material is not treated for exterior use and our wood glue is not rated for the outdoors.
What is the "throat cut"?
The throat cut is referring to the length of the back of the tread body. Typically this is used when referring to treads with double returns or a starting step.
How many staves are in a standard thick tread?
On average, there are about 13 staves of solid wood that make up the thick tread.
What type of finish do you use on your treads?
All tread materials and other products that you step on are finished with a Conversion Varnish. Used in the hardwood flooring industry, Conversion Varnish is strong and prepared to handle heavy use. Because it is sprayed onto products, Conversion Varnish is only sold in specialty stores. With Conversion Varnish, you’ll receive high-quality treads that will endure over time.
What's the difference between Conversion Varnish and Polyurethane?
Conversion varnish is much more durable and easier to clean than a standard polyurethane.
If my tread is the wrong size, can I return it and get a different size?
Our wood products are built to order and as a result are not returnable. If you have questions or are concerned about your tread order, call in and work with our sales representatives and they can assist.
What metal should I use?
This depends on what look you are going for and where you live. We have three different metal types: 304 Stainless Steel, 2205 Stainless Steel, and Aluminum. If you are looking at a Stainless Steel finish, 304 SS can be used 5+ miles from a salt water coast, while 2205 SS can be used in most coastal areas. 2205 Stainless Steel is our marine grade steel. If you are wanting a powder coated finish, Aluminum will be the best choice. Since it is a softer metal we are able to create a surface area that bonds really well with a powder coat. When choosing your Aluminum and finish, there are two powder coat types, each with several color options. The first is a standard powder coat. This can be used 5+ miles from the coast. The second is an Endurance Powder Coat. This can be used on the coast and is our marine grade powder coat. The Endurance Powder Coat is also extremely UV resistant and does well in high sun areas. It has a slight gloss to the finish.
Is the lead time how many days until it is delivered?
The lead time is how many days it takes us to build and package your order. This does NOT include transit time. Typical transit times are 1-5 days depending on where you are located. These would be added to the lead time.
Do I need a special post for my gate?
We recommend a 7 gauge Stainless Steel hinge post for supporting the weight of the gate over time.
What is the maximum size for a single gate?
The largest single gate is 42" tall x 48" wide which fits into a gap of 49.125" (49 1/8"). If you have a gap larger than 49.125" you will need to switch to a double gate. Stainless Steel gates can go up to this maximum size. The maximum size for an aluminum gate is 42" Tall x 42" Wide.
Are the lights 12v, 24v, 110v or something else?
The lights are 24V, but require 110v power entering the stringer, with a conduit to protect against the steel. We will follow up with the exact location and lead length.
Are these lights dimmable?
Yes!
What is the CRI?
95+
Can the lighting be adjusted from different color shades like 2k, 3k, 5k?
The tunable white light can adjust from 2400-6500 kelvin.
Is there a transformer that needs to be hidden?
No, everything is enclosed within the steel stringer, but the lighted stair system should be on its own breaker.
How are the lights turned on and off?
Wireless switches. You’ll receive two switches per system, but you can add as many as you like.
Do we need a standard, wall-mounted light switch for these?
No, hardwired switches are not required. The battery-powered, wireless switches can be installed in standard wall switch
boxes.
How do I access the internal parts of the stringer?
There is a flat access panel about two feet above the floor with four low-profile bolts.
Is it best to have the power source at the top or bottom of the stairs for a clean look?
It depends how tall your header is, and where the header plate lands. If the header is less than 15” tall, it could be at risk of exposed wires. Usually, the bottom looks cleaner. If it’s a switchback or U system, power can enter the stringer at the platform wall.
Can Lights be retrofitted to existing stair systems?
No, not at this time.
What is the total wattage of the system?
Wattage depends on the number of treads in your system.
Can’t find the information you need?
We can help! Please contact us or give us a call at (866) 261-8013.
